WooCommerce – MasterCard Gateway
Created date: 28-05-26 |
Updated date: 24-06-26 |
Plugin version: 1.5.3.1 |
API version: 100


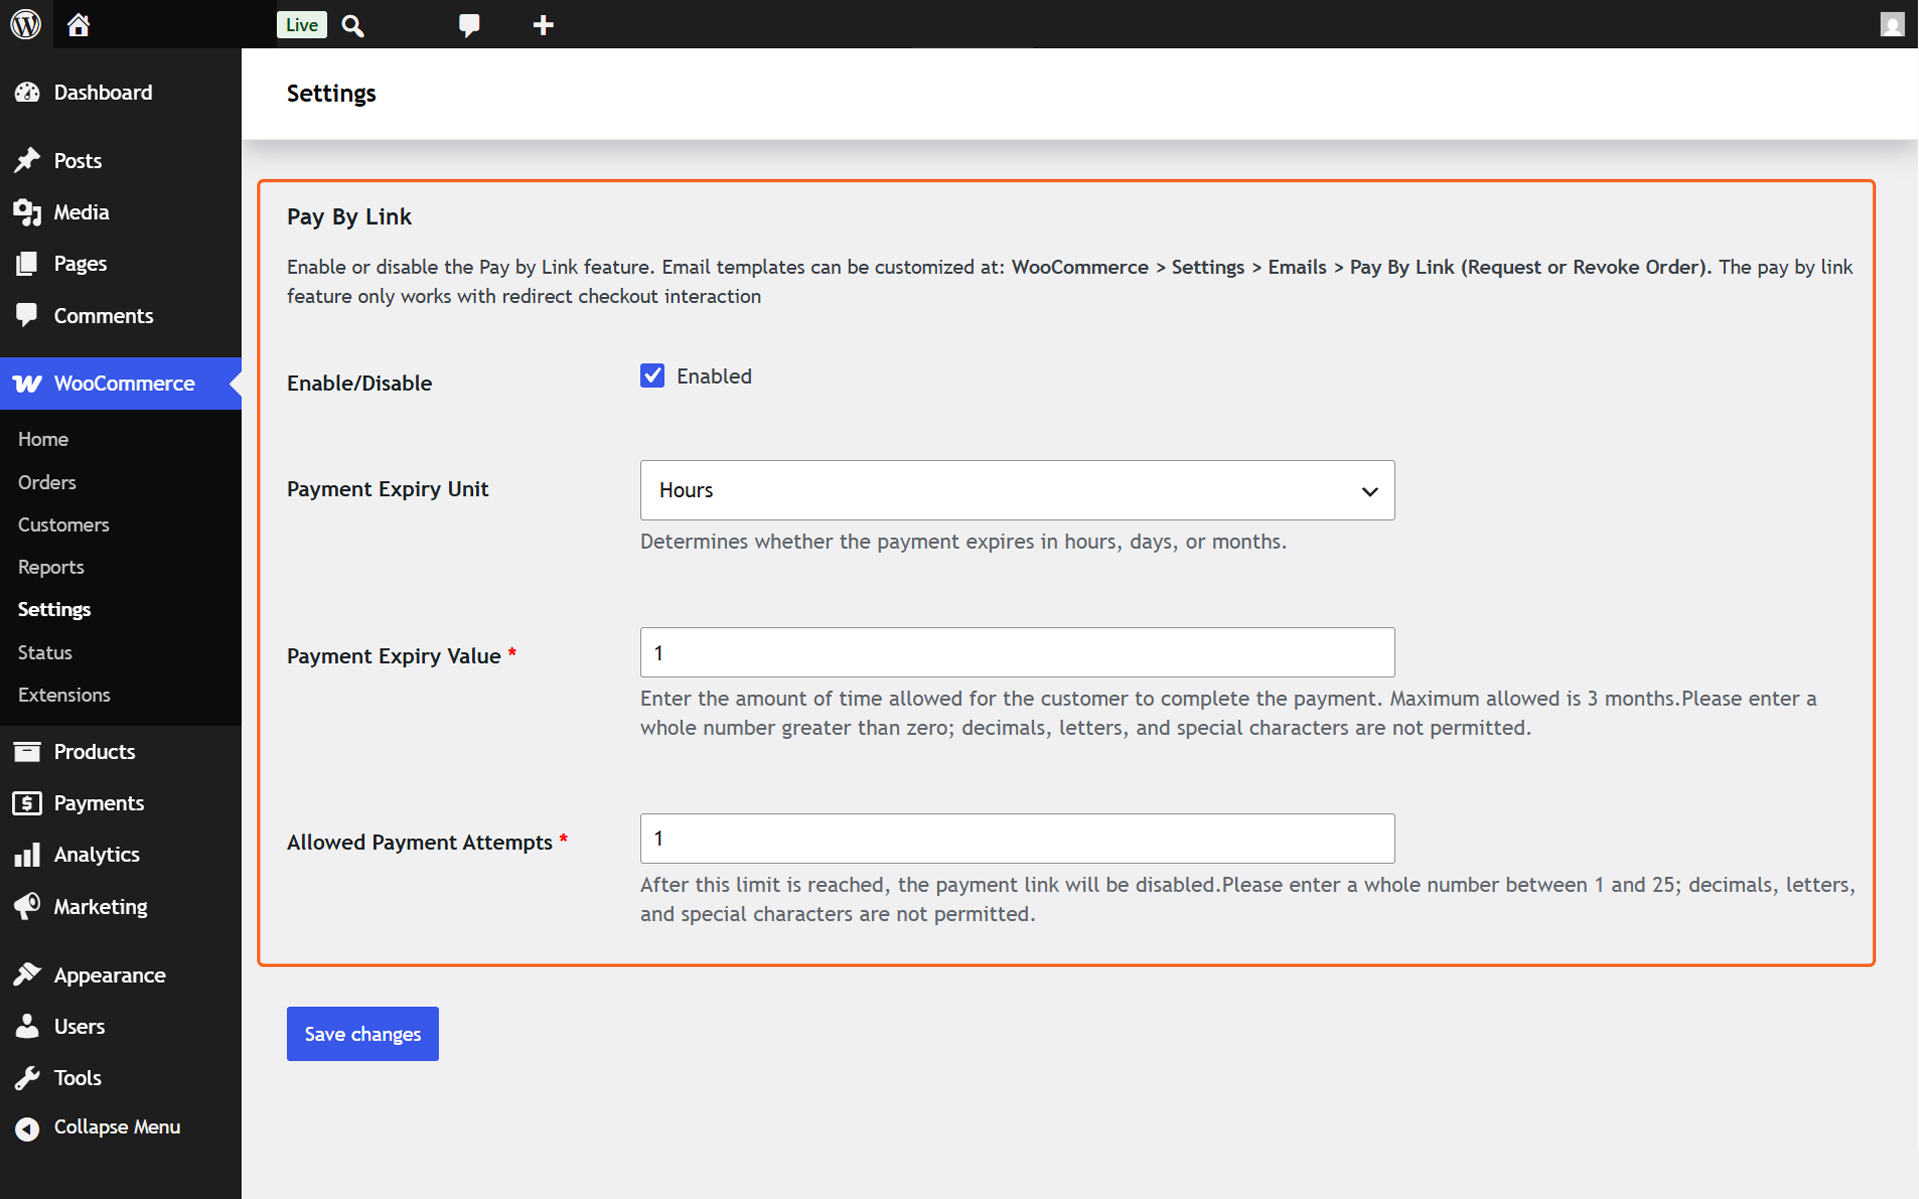
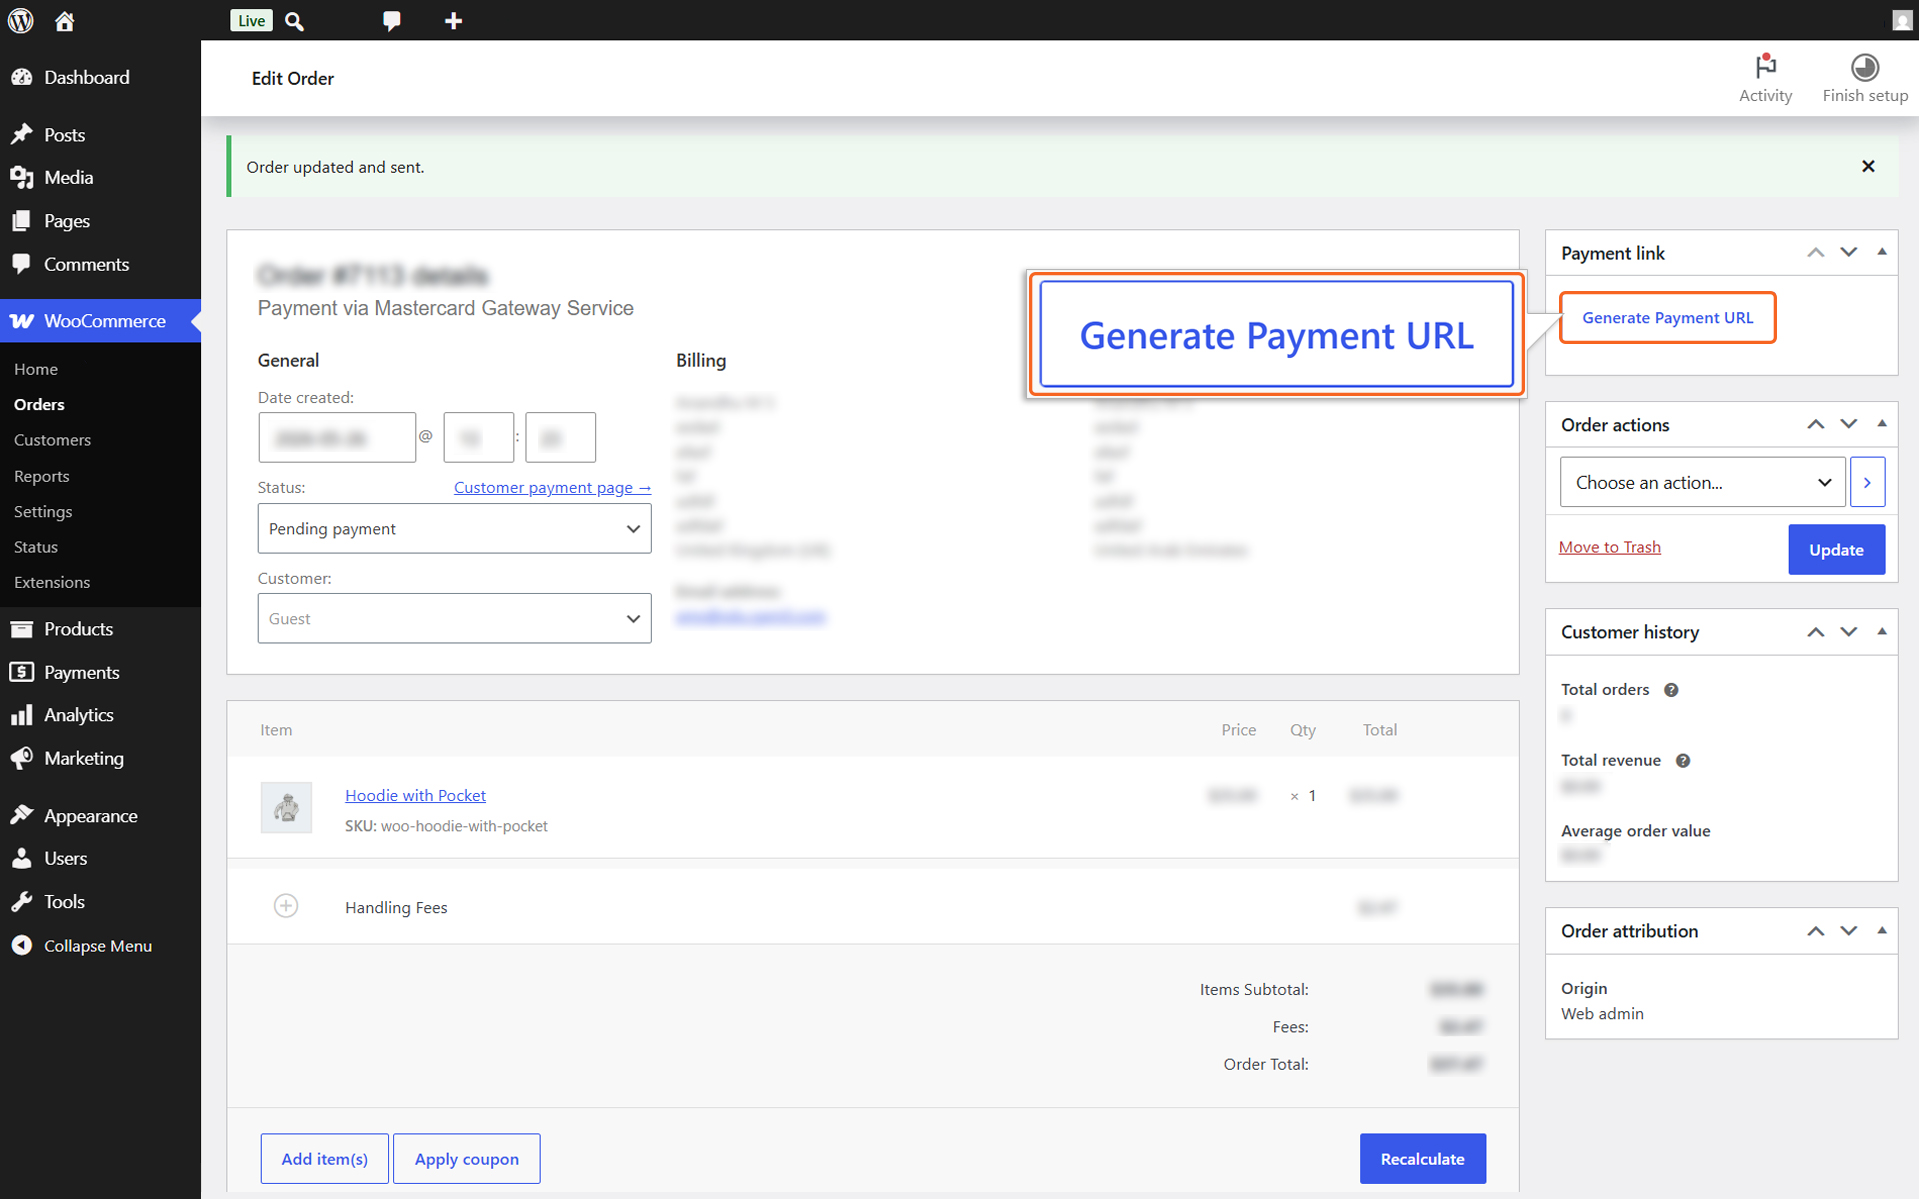
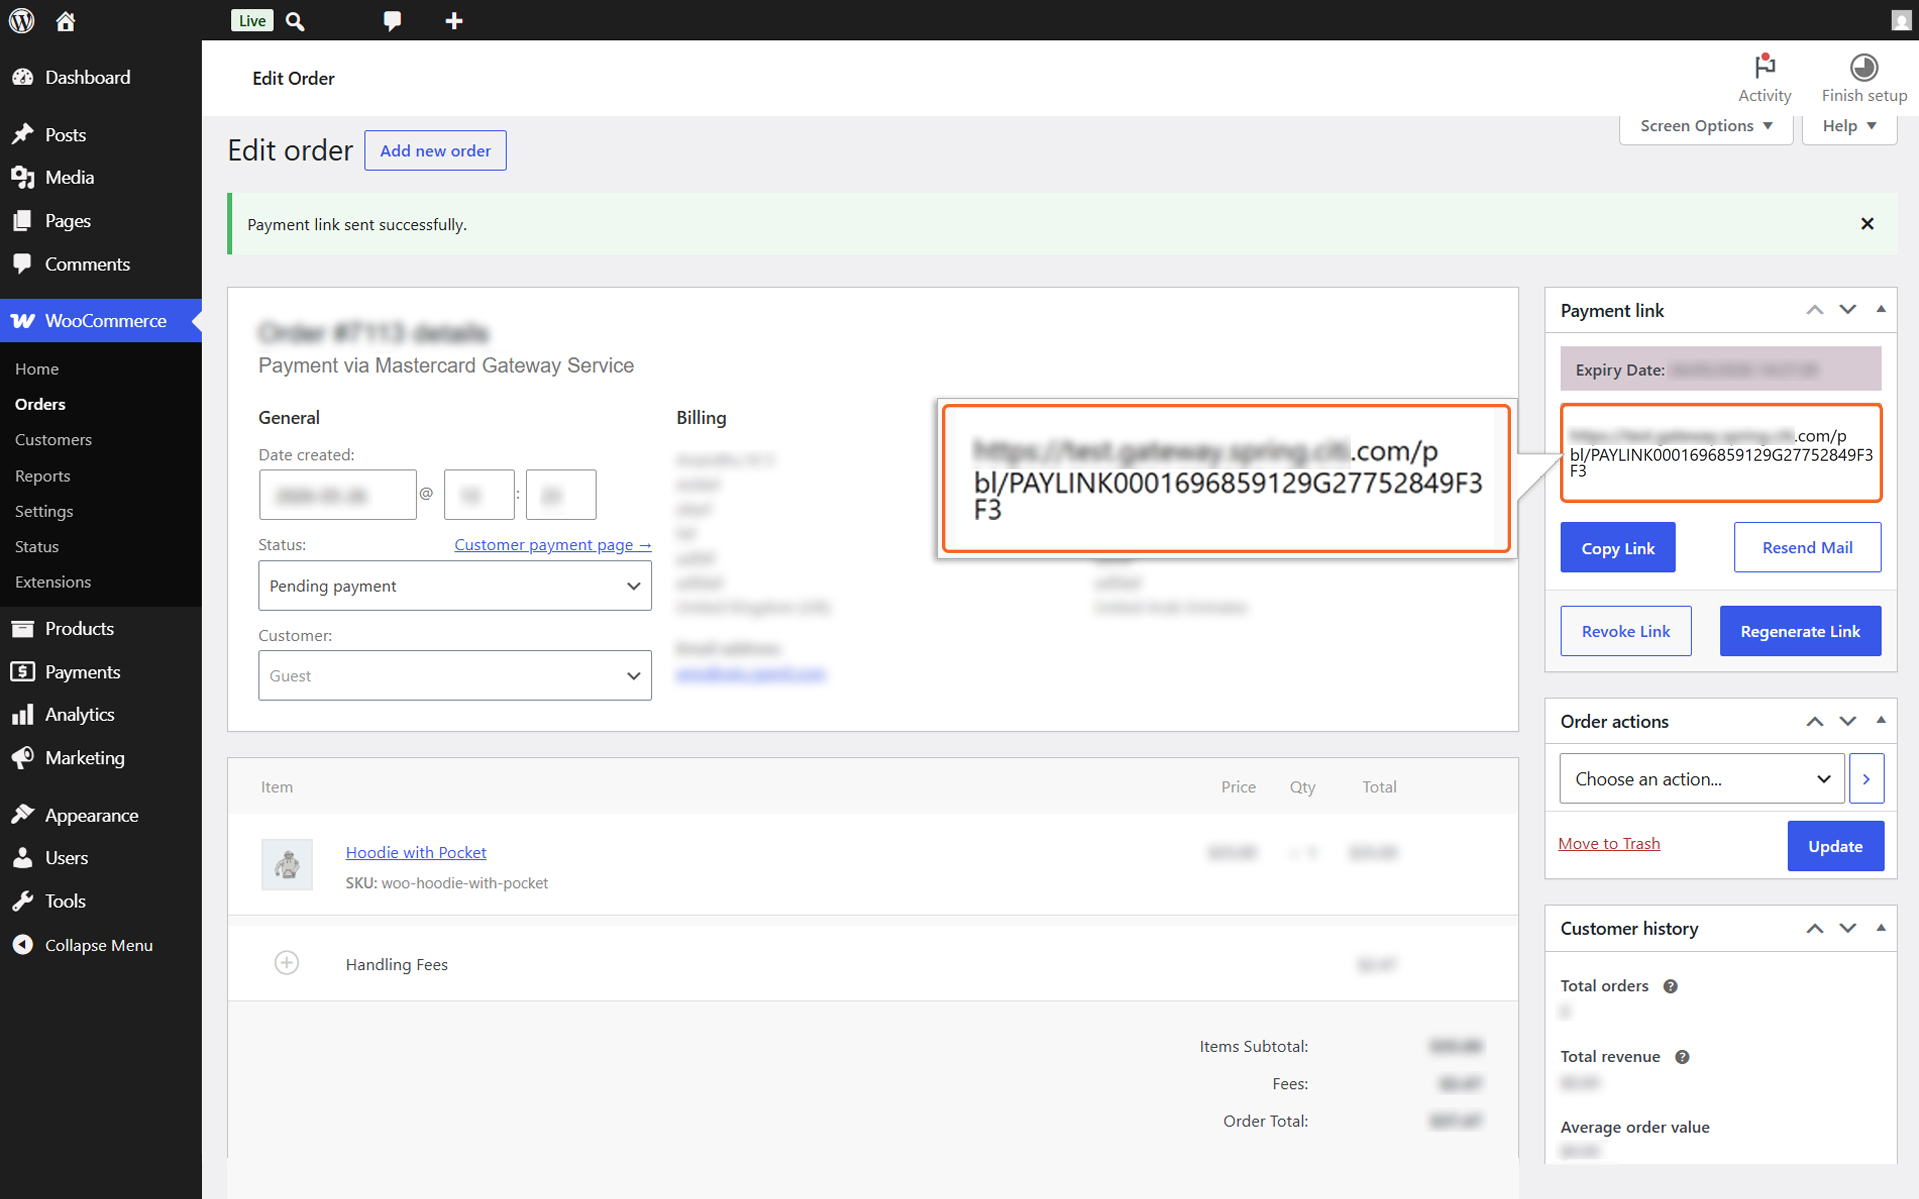
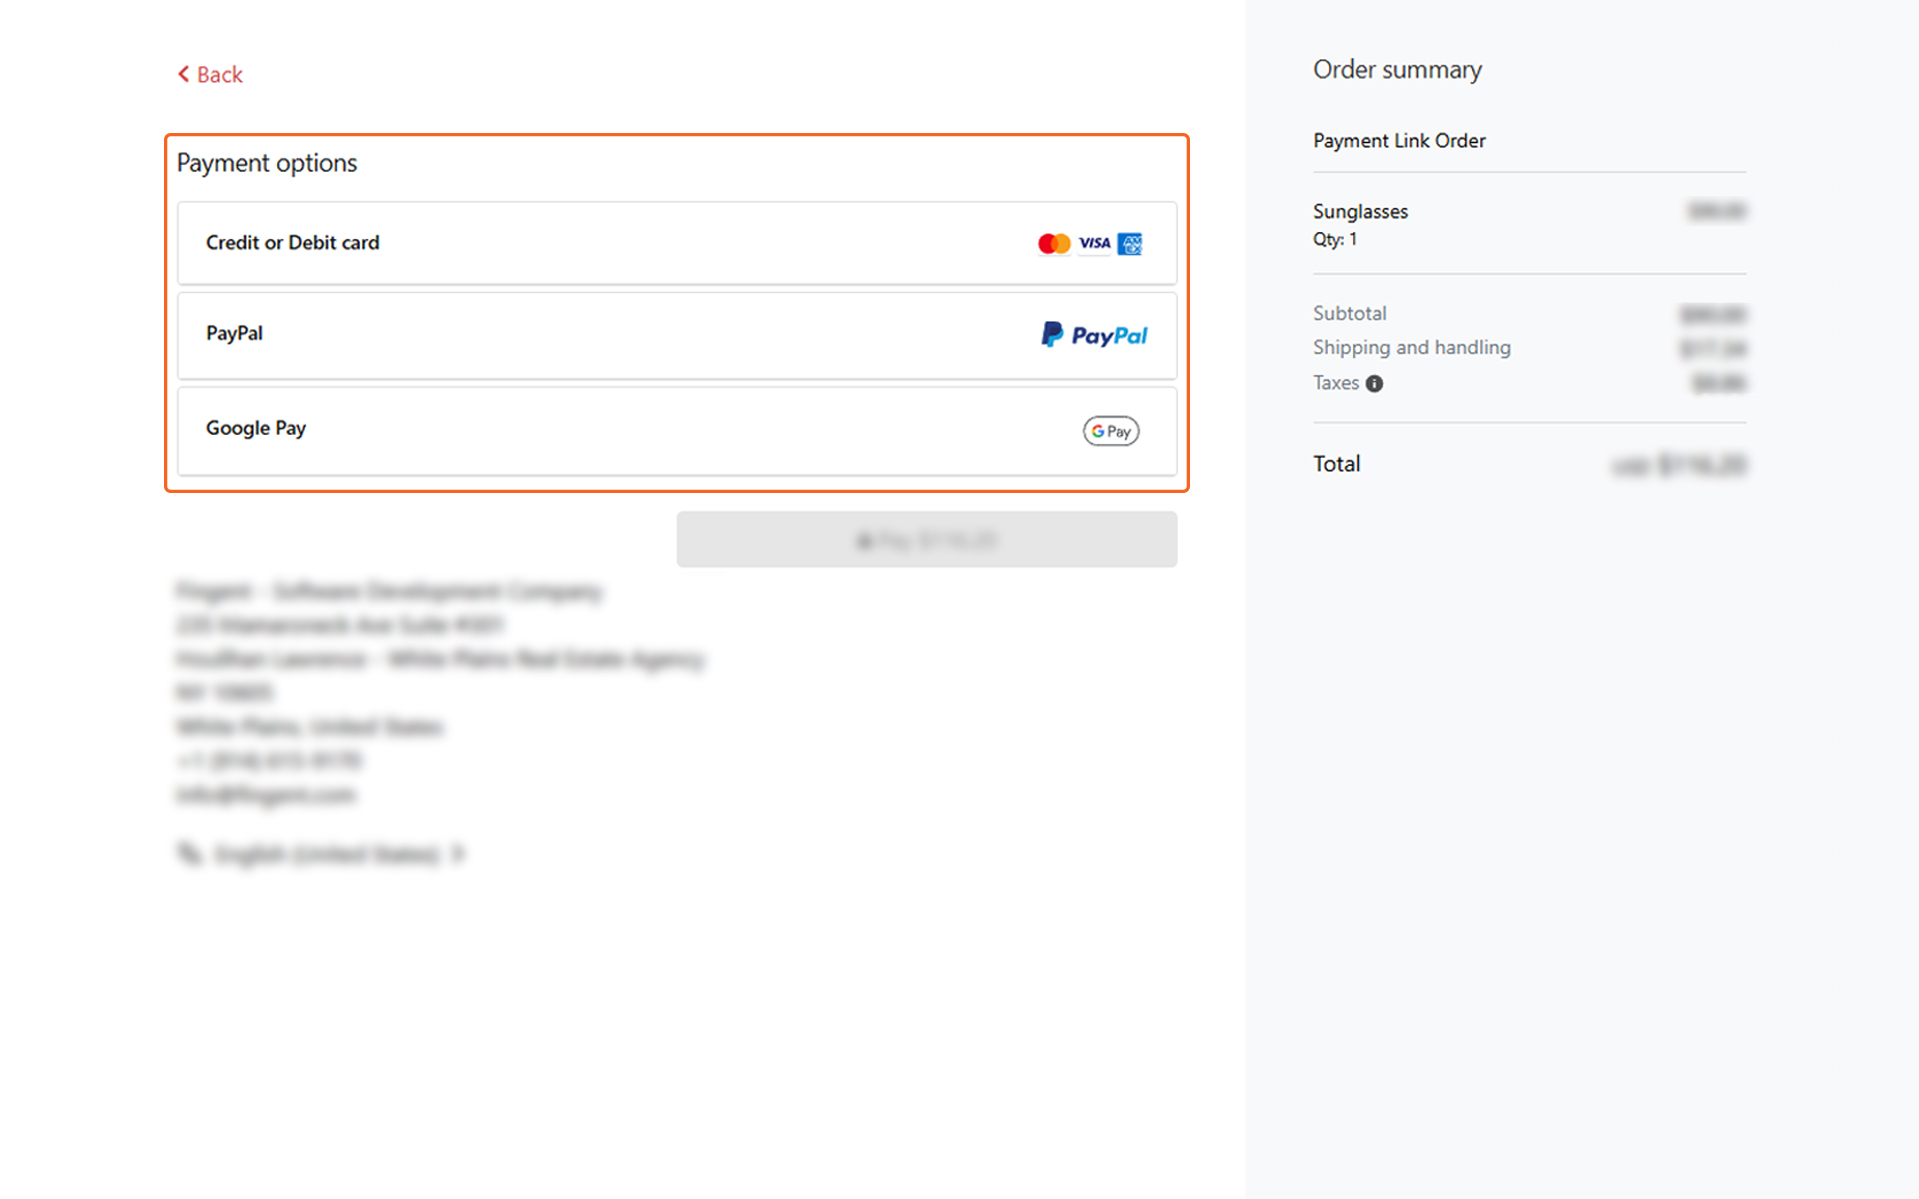
Hosted Checkout – Pay By Link Configuration