Created date: 28-05-26 | Updated date: 01-06-26 | Plugin version: 1.5.3 | API version: 100
Mastercard Gateway for Magento, OpenCart, PrestaShop and WooCommerce
Hosted Checkout – Pay By Link Configuration
Here’s a detailed breakdown of each field in the Hosted Checkout Pay By Link section. This will help guide you through the setup process.
Prerequisite: Before configuring Pay By Link, please ensure that all necessary Hosted Checkout settings are completed and verified. For help with Hosted Checkout configuration, please click here.
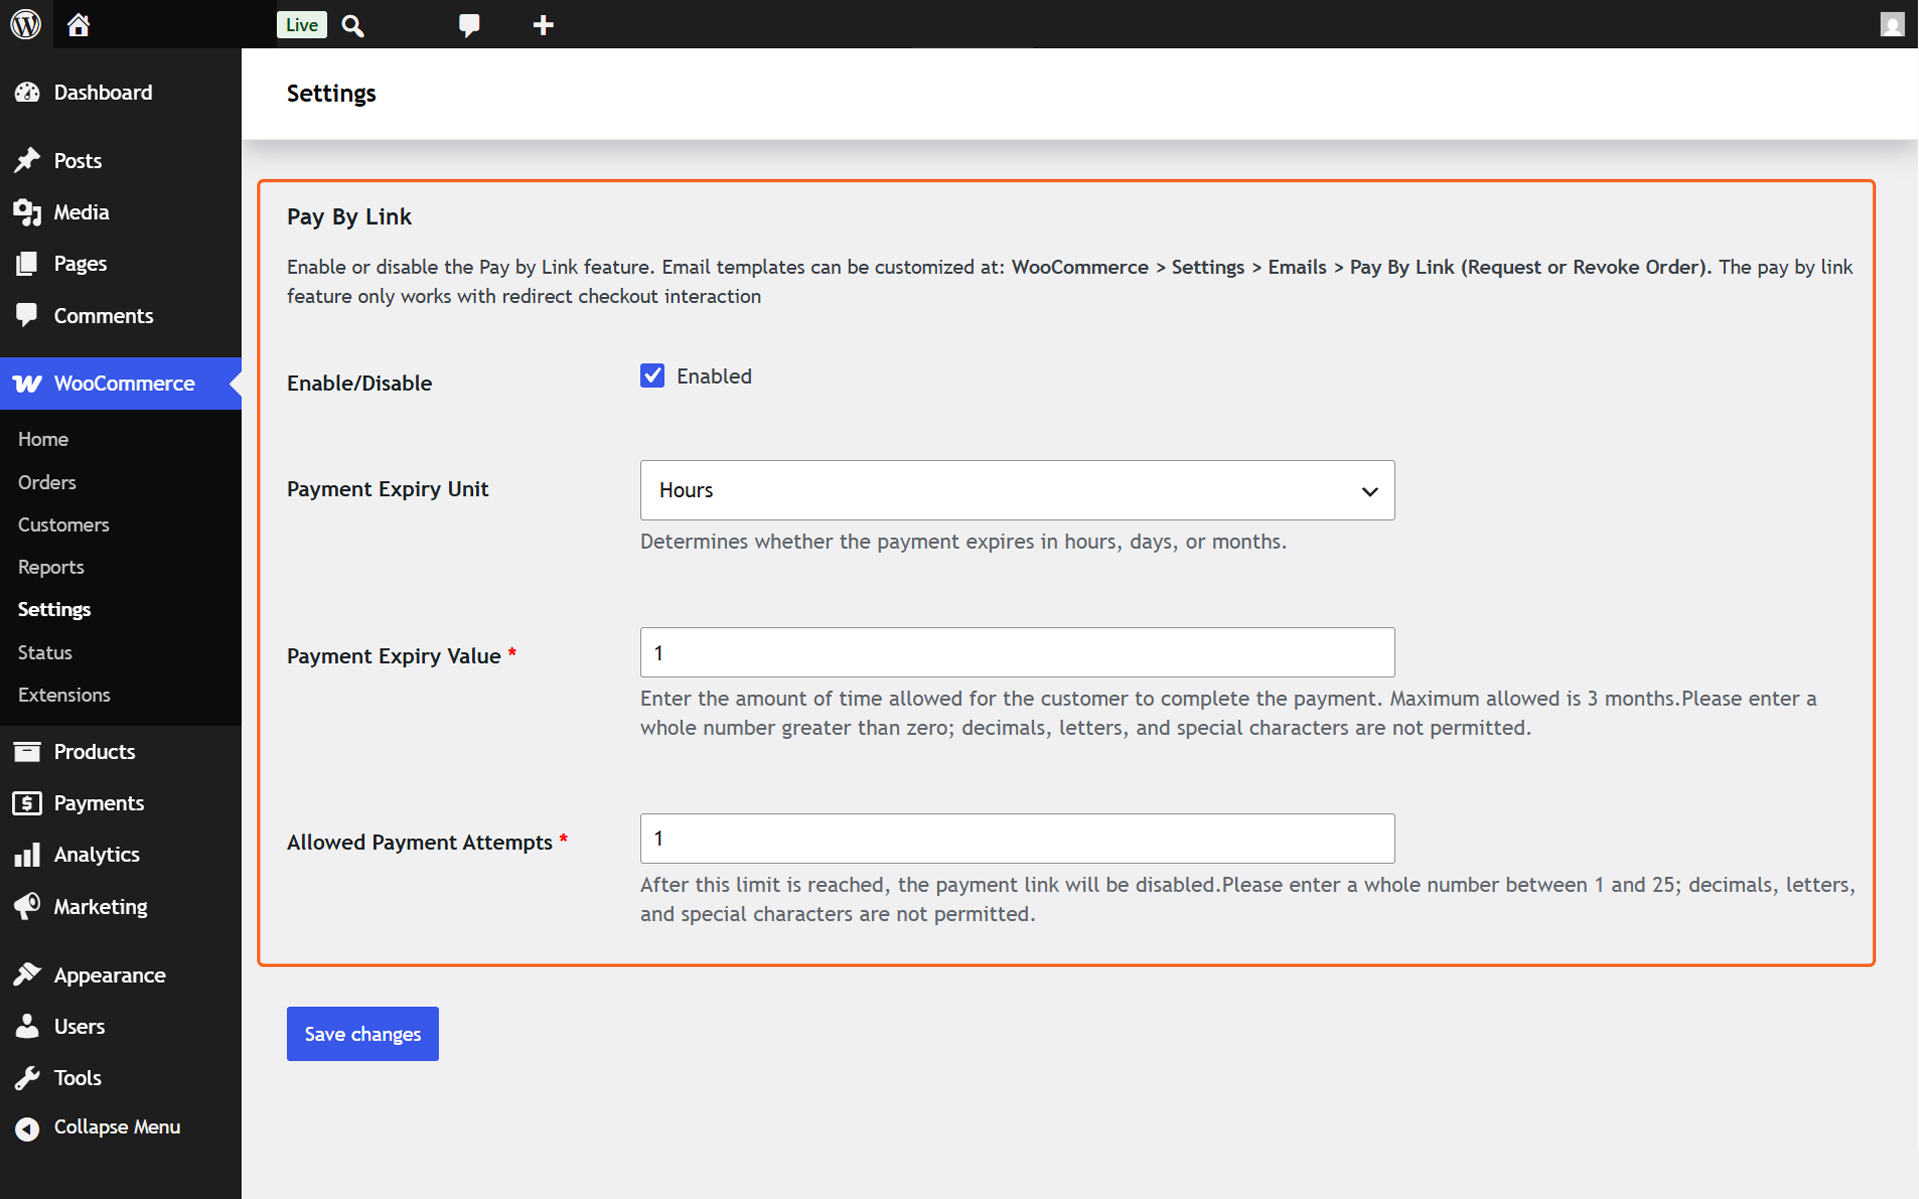
Hosted Checkout - Pay by Link Configuration
Enable/Disable
Toggle the Enable/Disable checkbox to Enable Hosted Checkout This step activates the configuration needed for this payment option as well as enables the same in the checkout page.
Payment Expiry Value
The numeric duration the link remains active. Must be a whole number greater than 0 (Max duration: 3 months).
Allowed Payment Attempt
The maximum number of times a customer can try to pay before the link is disabled. Must be a whole number between 1 and 25
Email Configuration
Default pay by link emails are configured and will be in effect on enabling pay by link after plugin installation. Also users can customize email templates at: WooCommerce > Settings > Emails > Pay By Link (Request or Revoke Order).
Email Templates
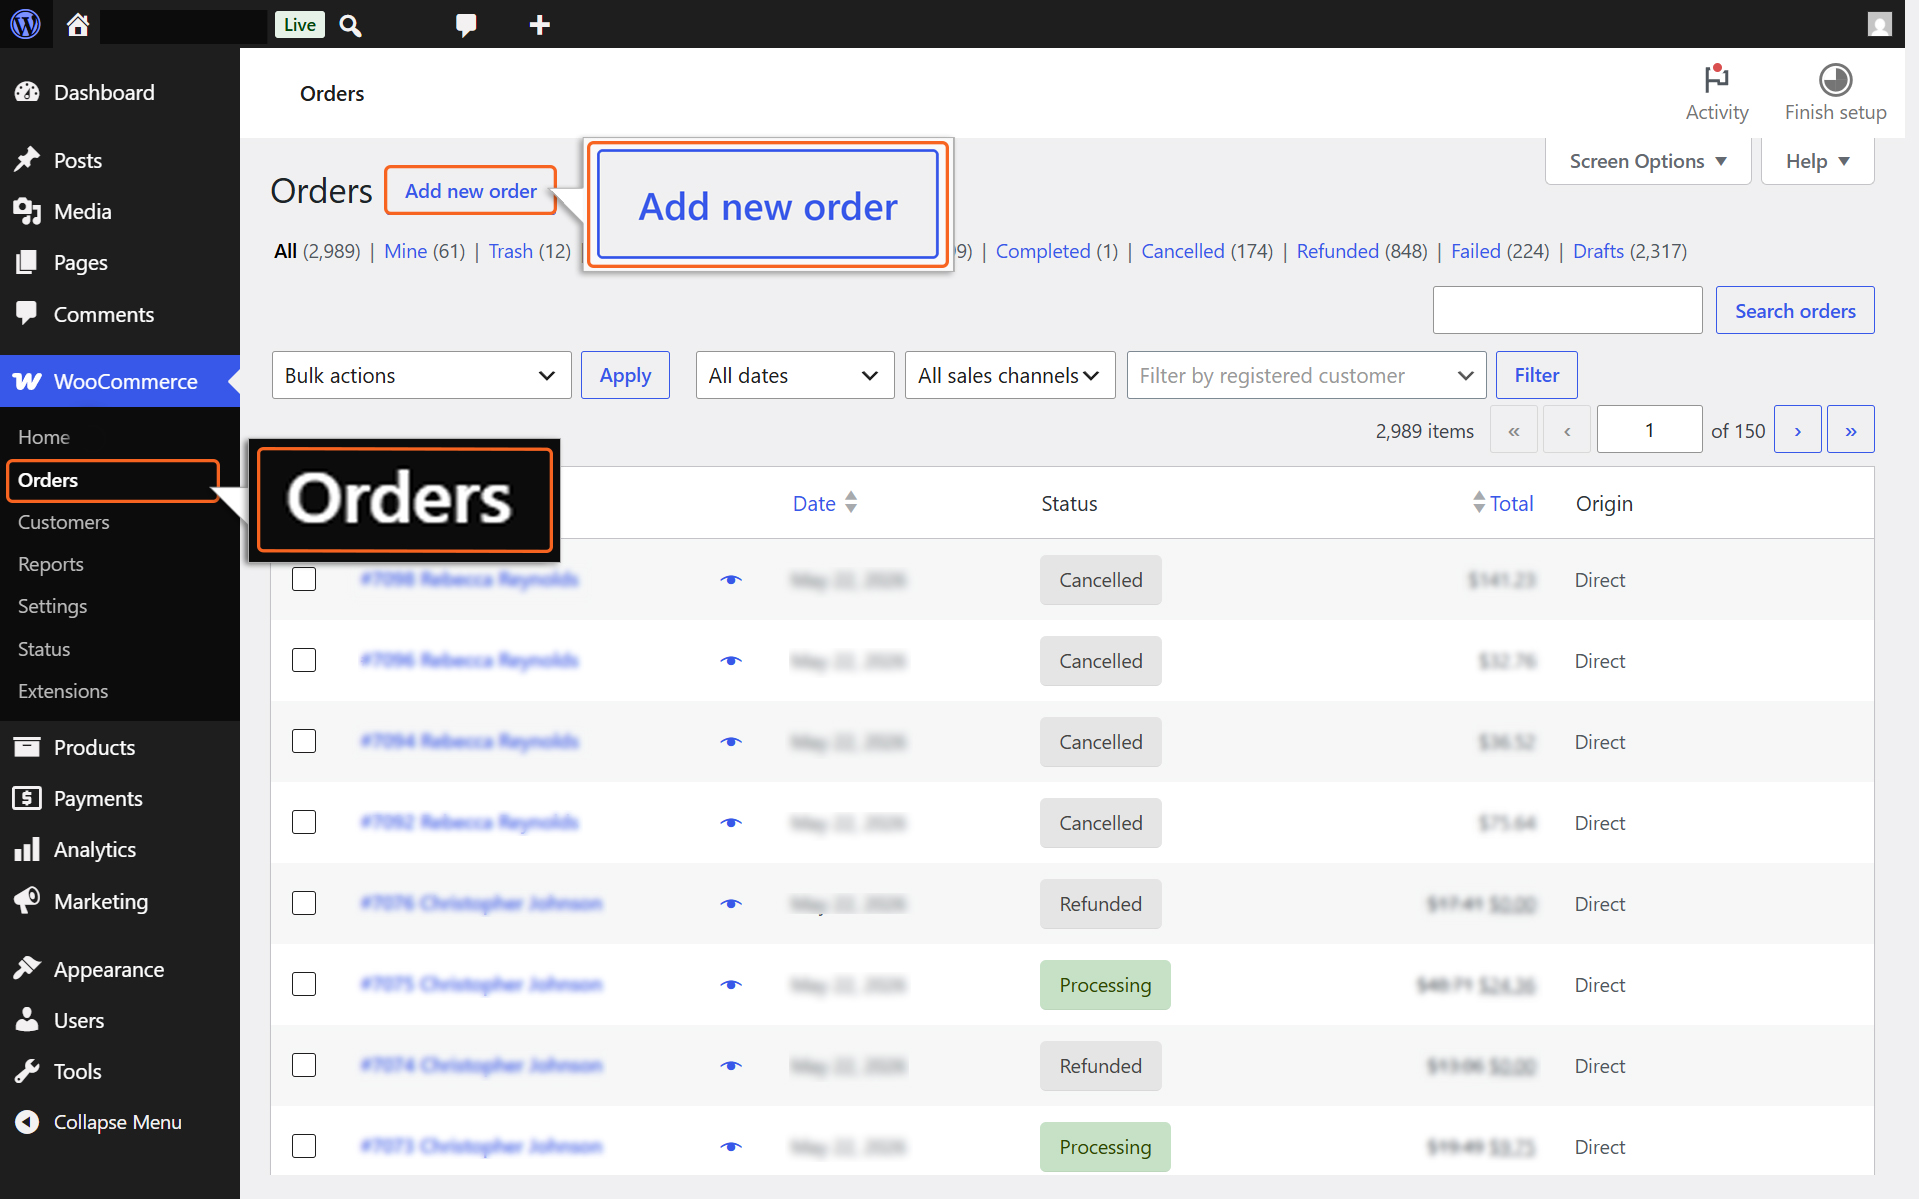
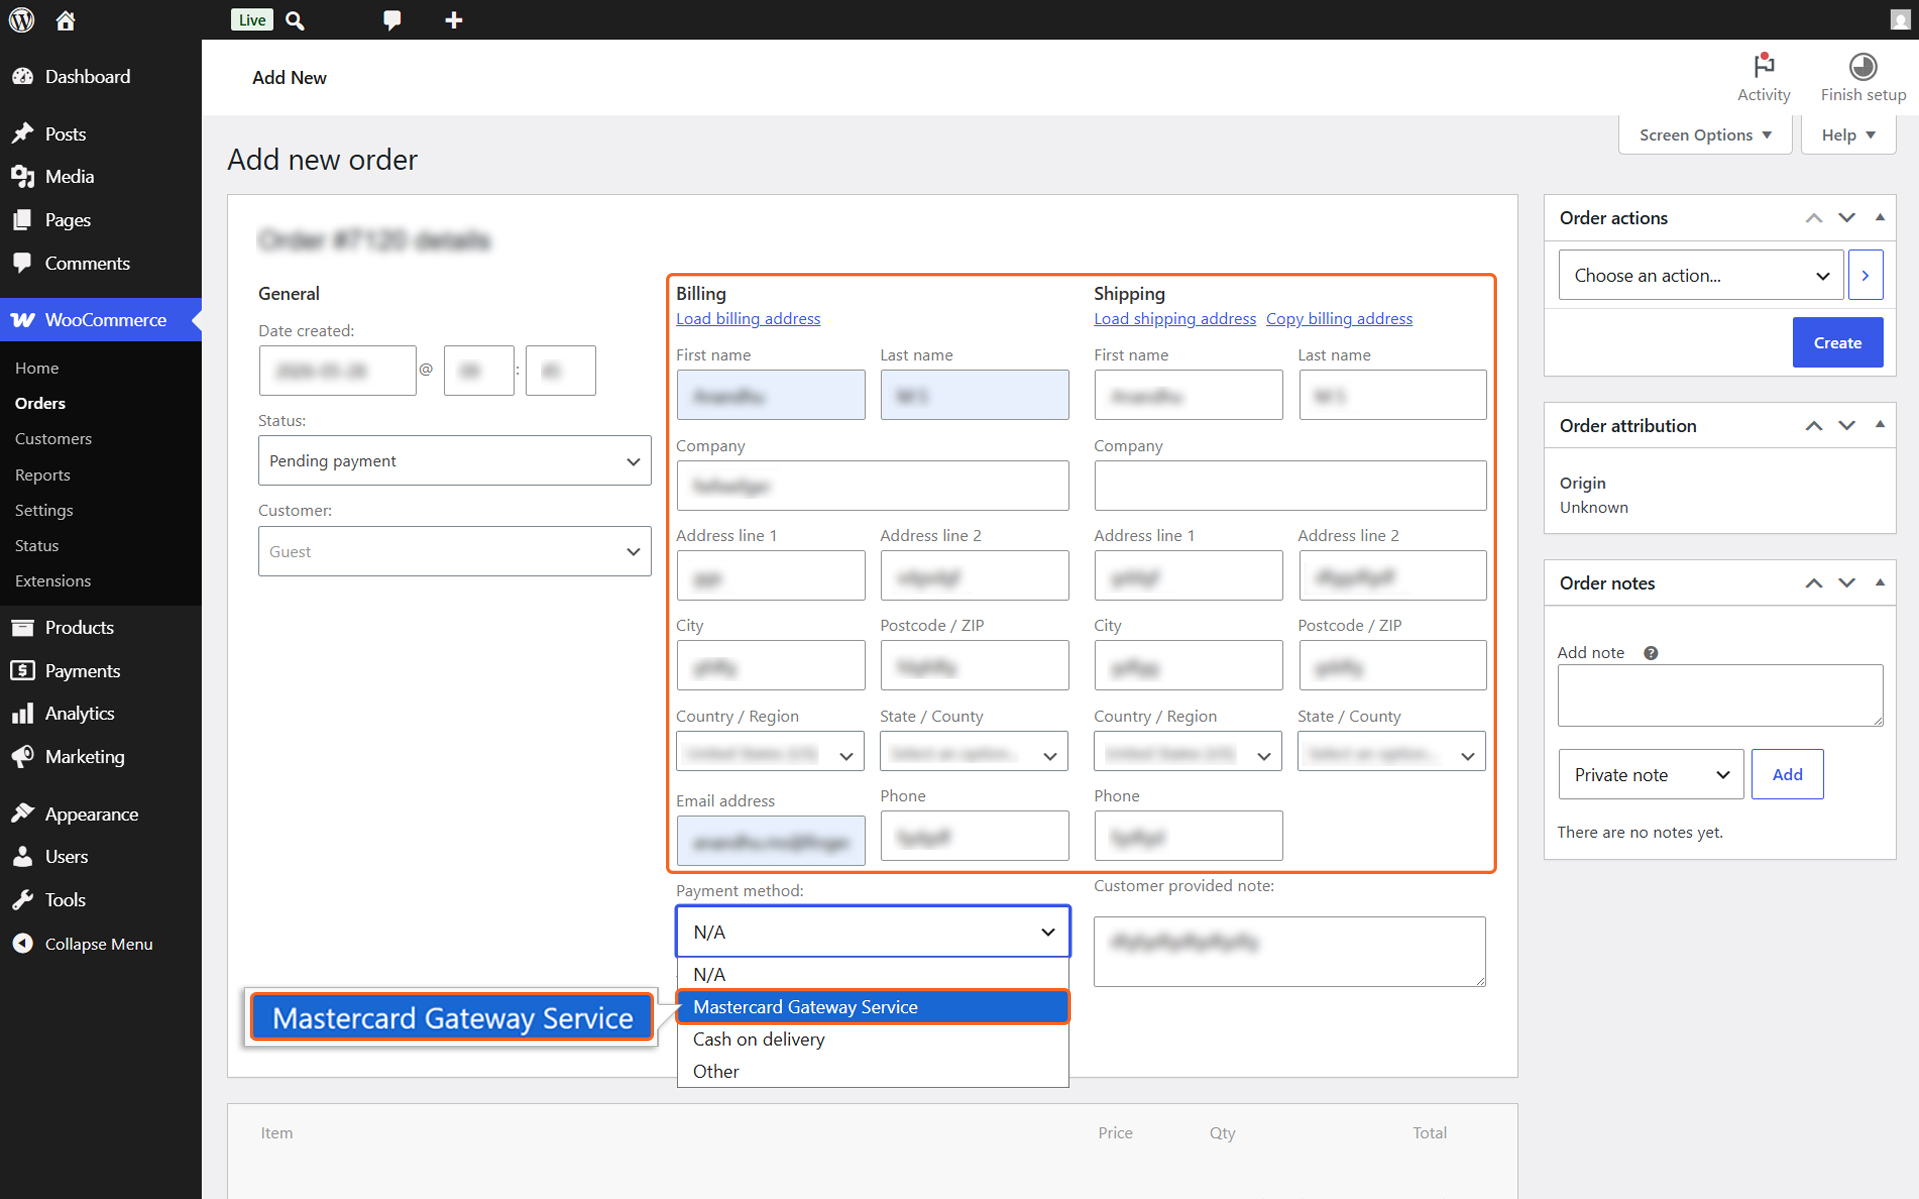
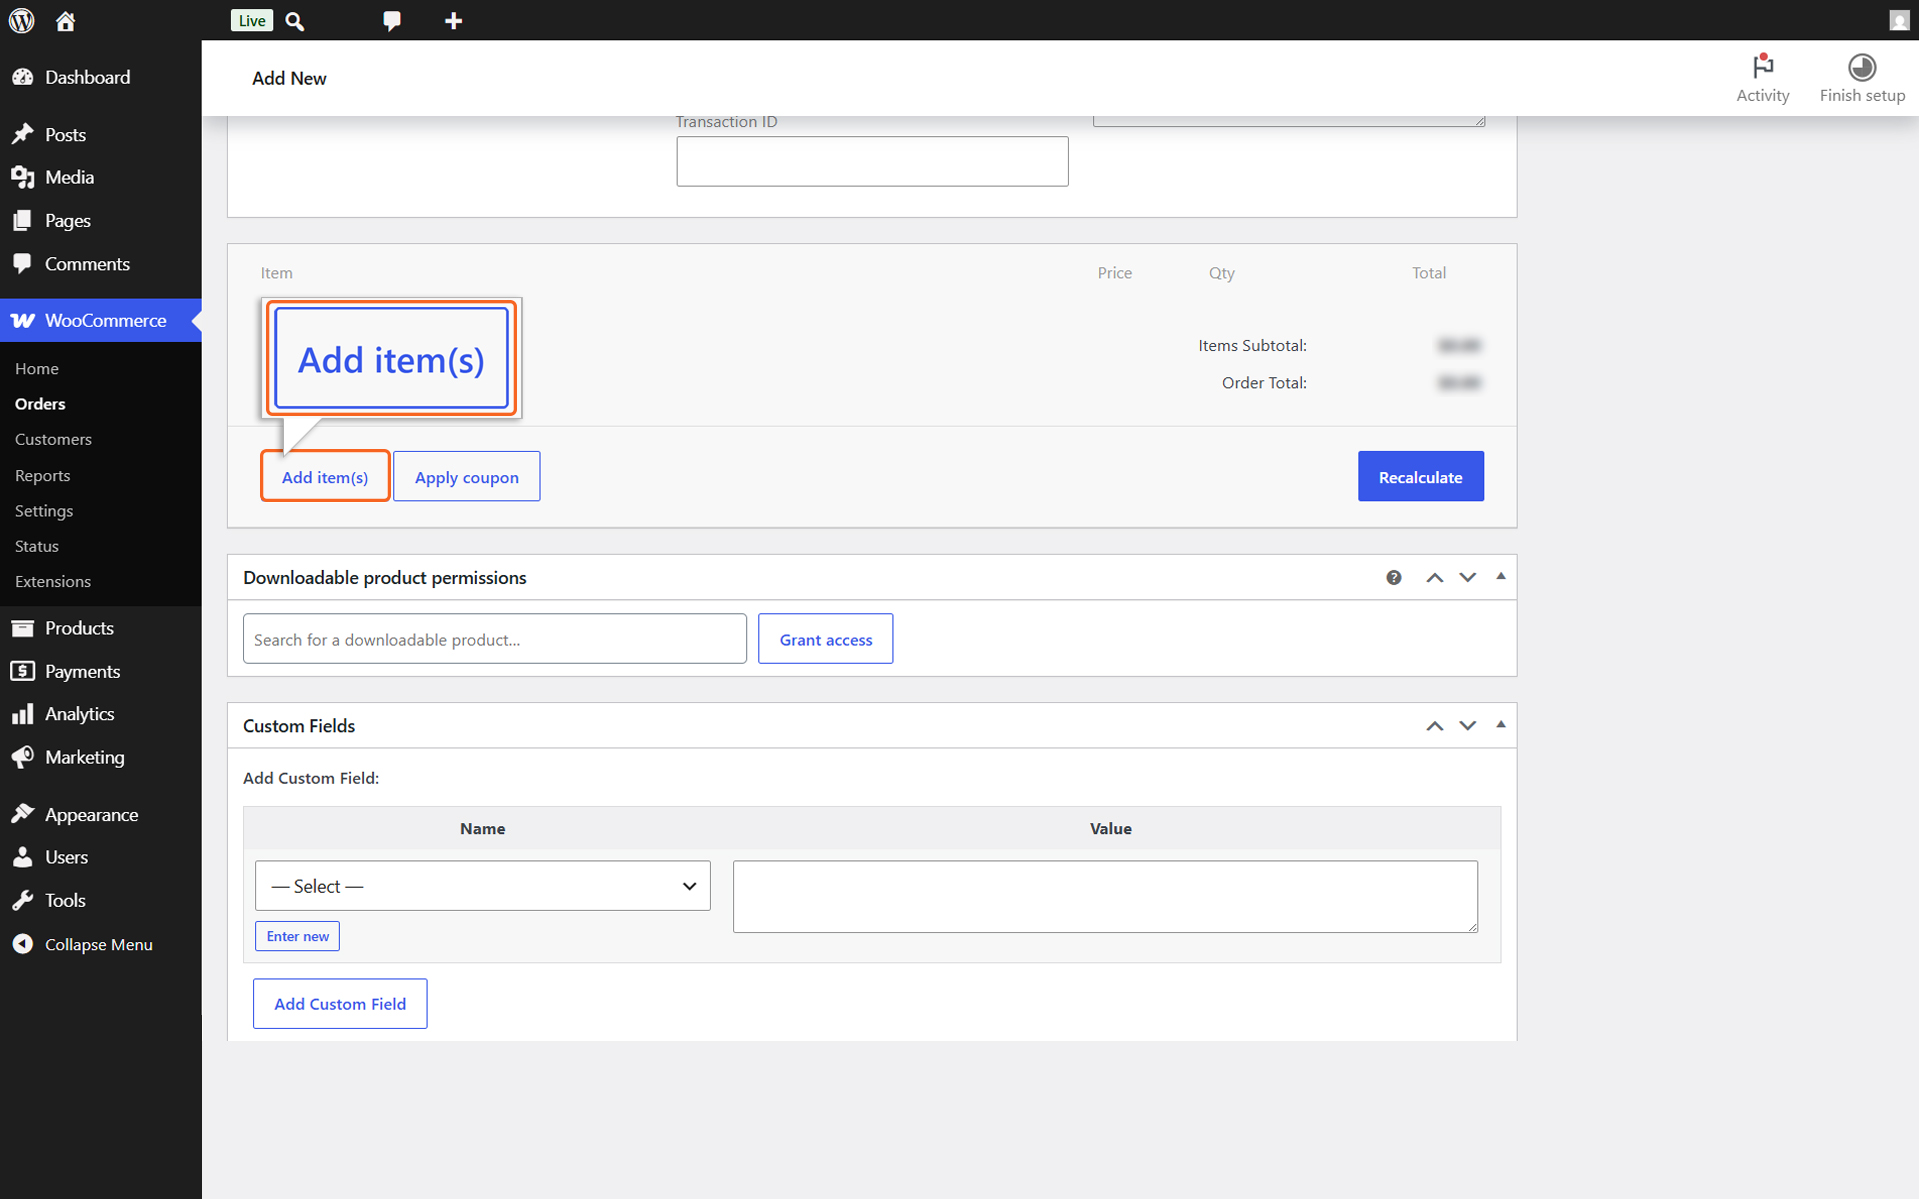
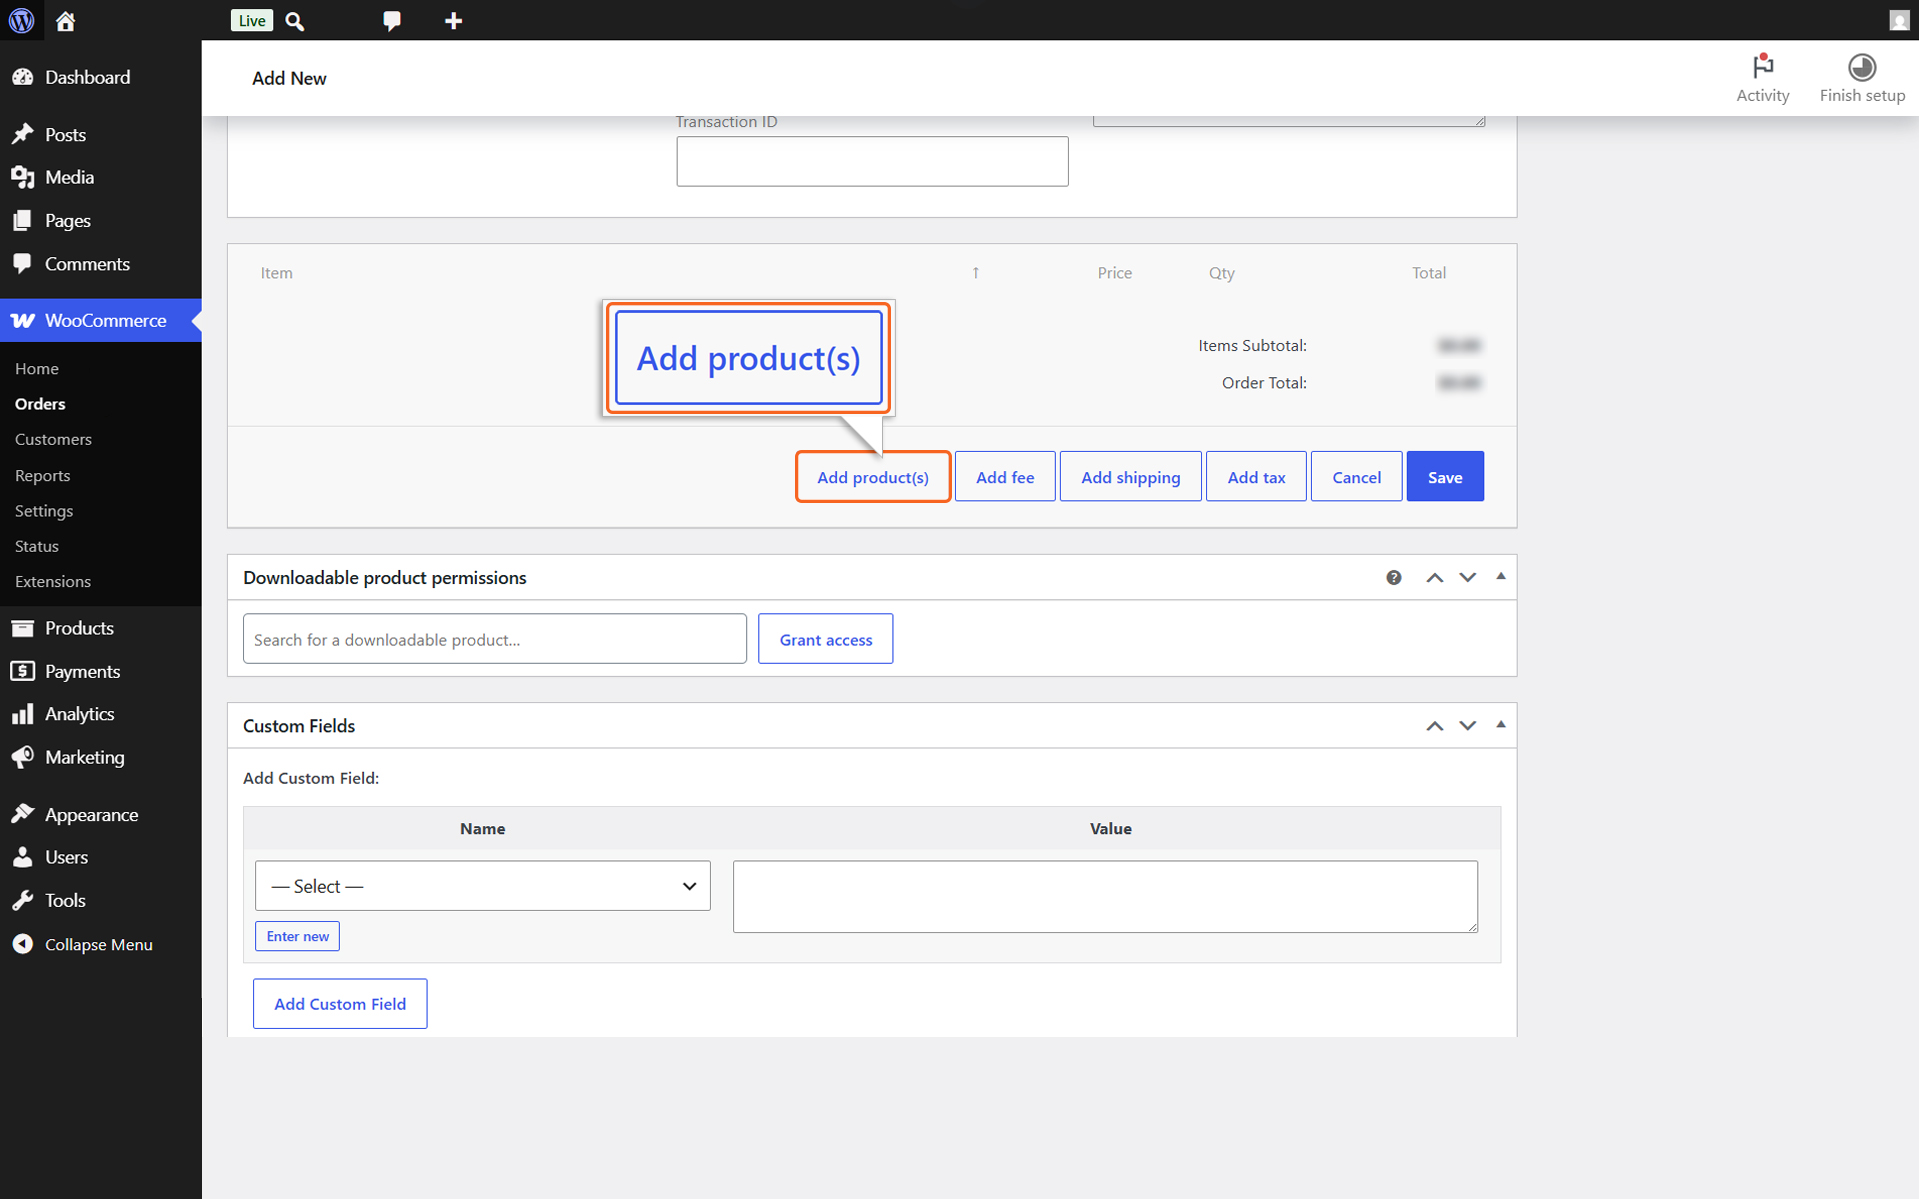
Order creation
1. Navigate to Order section in woocommerce Side panel & Click on Add New Order button