Created date: 16-03-23 | Updated date: 23-07-26 | Plugin version: 3.0.4 | API version: 100
Mastercard Gateway for Magento, OpenCart, PrestaShop and WooCommerce
Configuration
After installing the Mastercard Gateway extension, you need to access it. Follow these steps to configure it properly:
1. Access the Configuration Menu
Magento Admin Panel.
First, log in to your Magento Admin Panel.
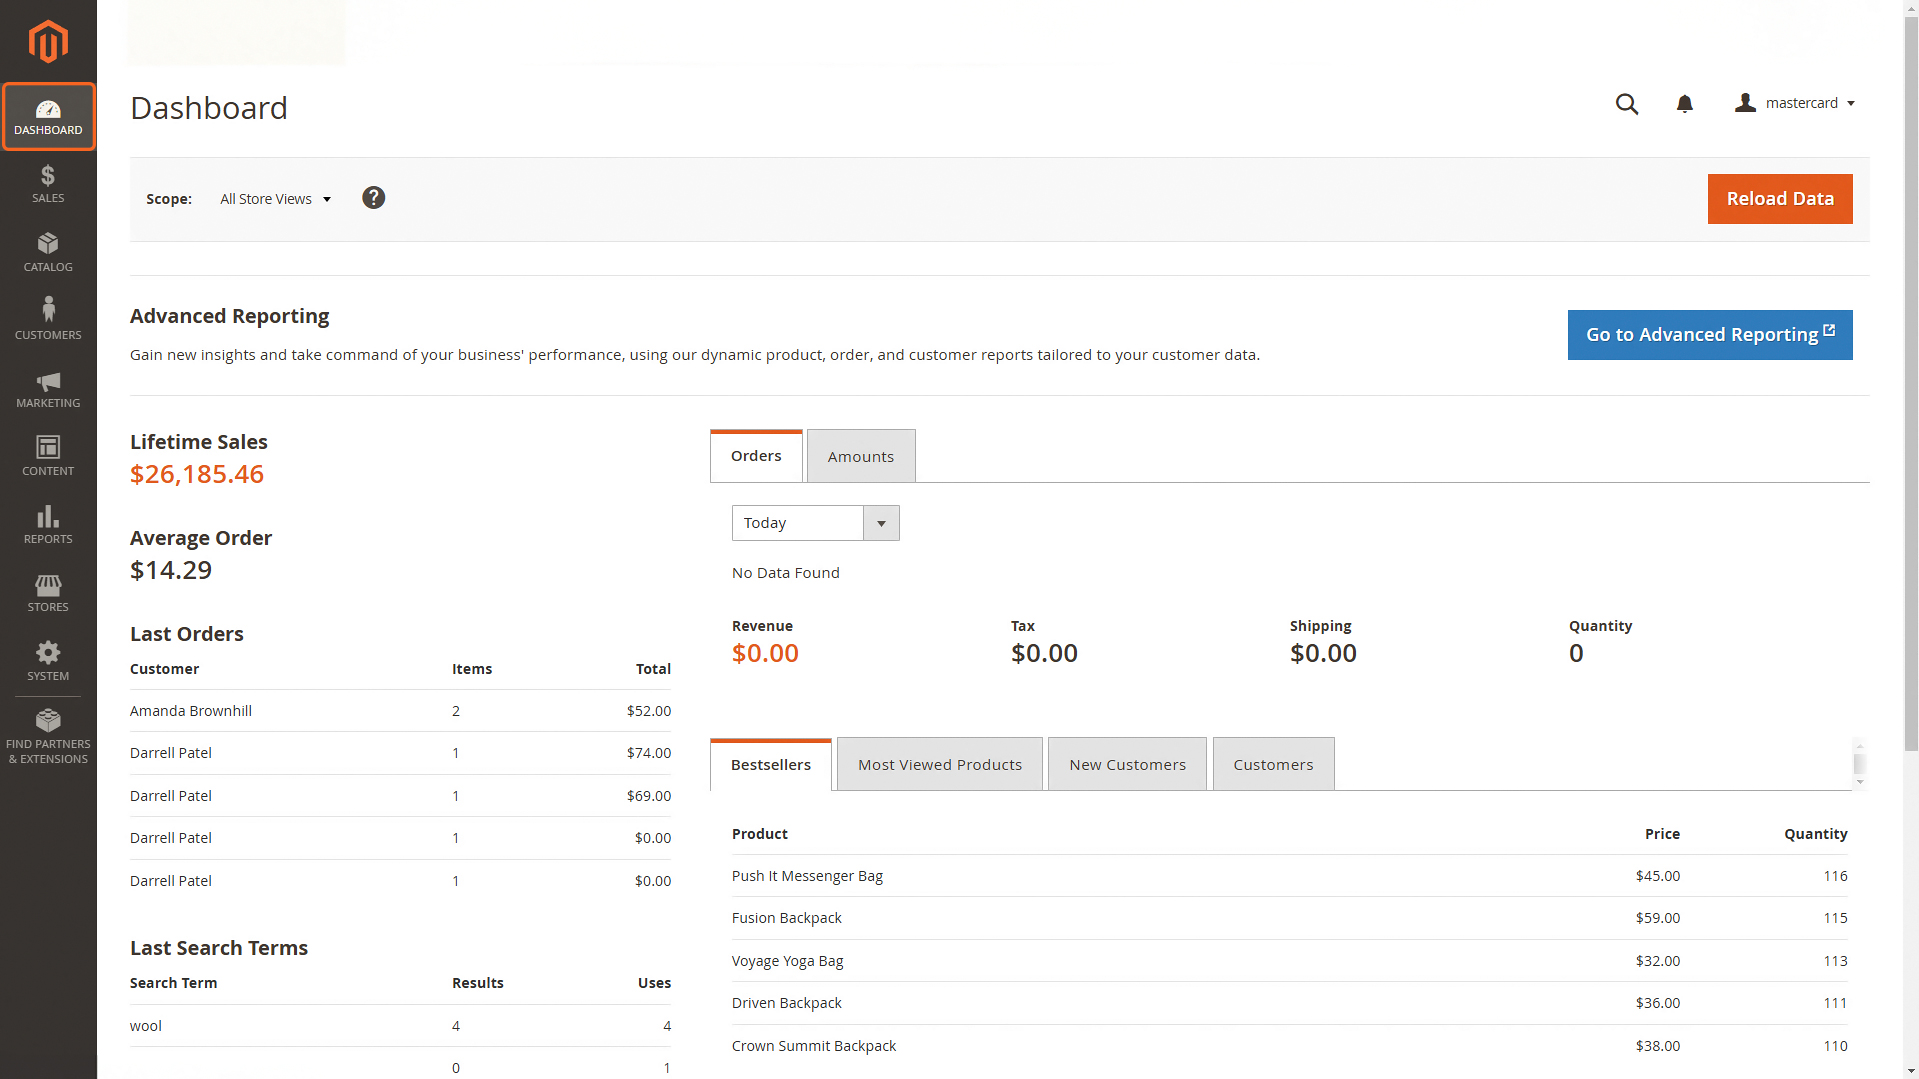
Admin dashboard
After logging in, you have to navigate to the Admin dashboard.
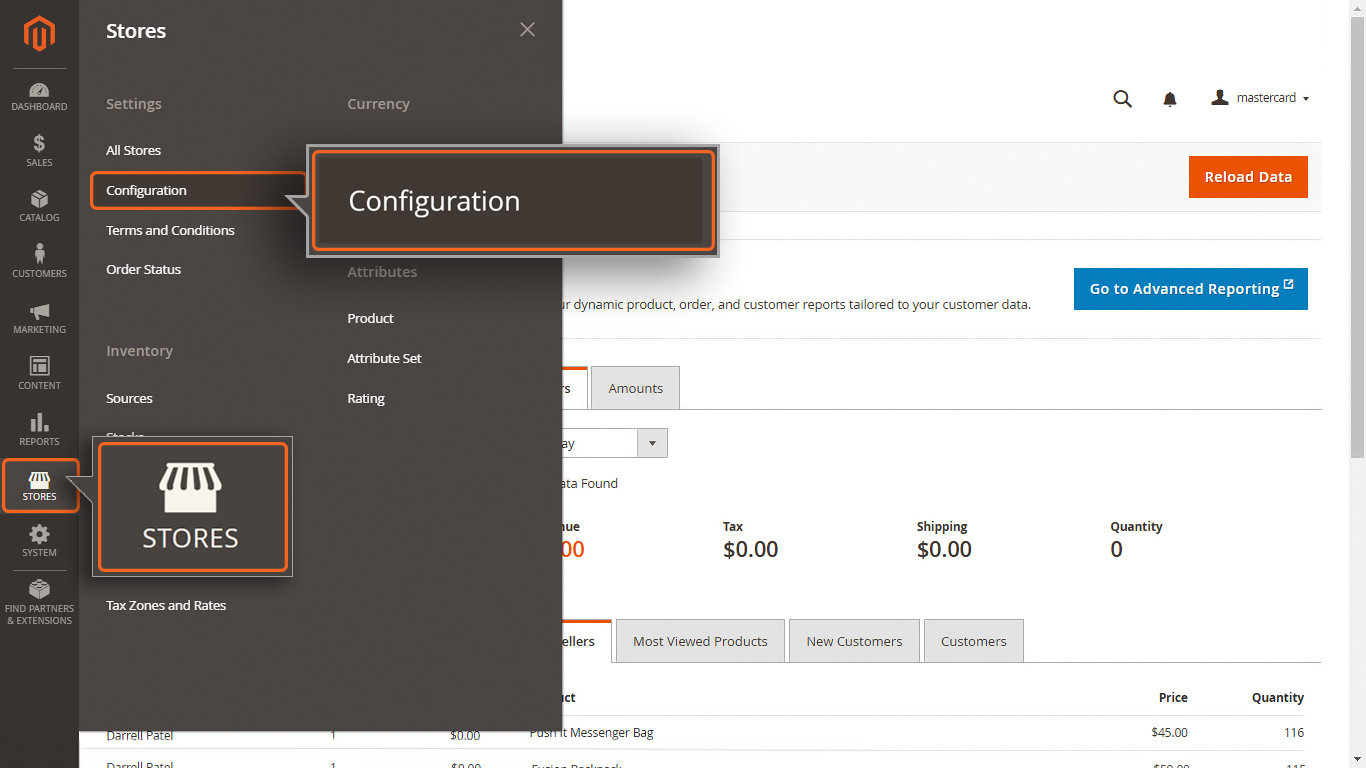
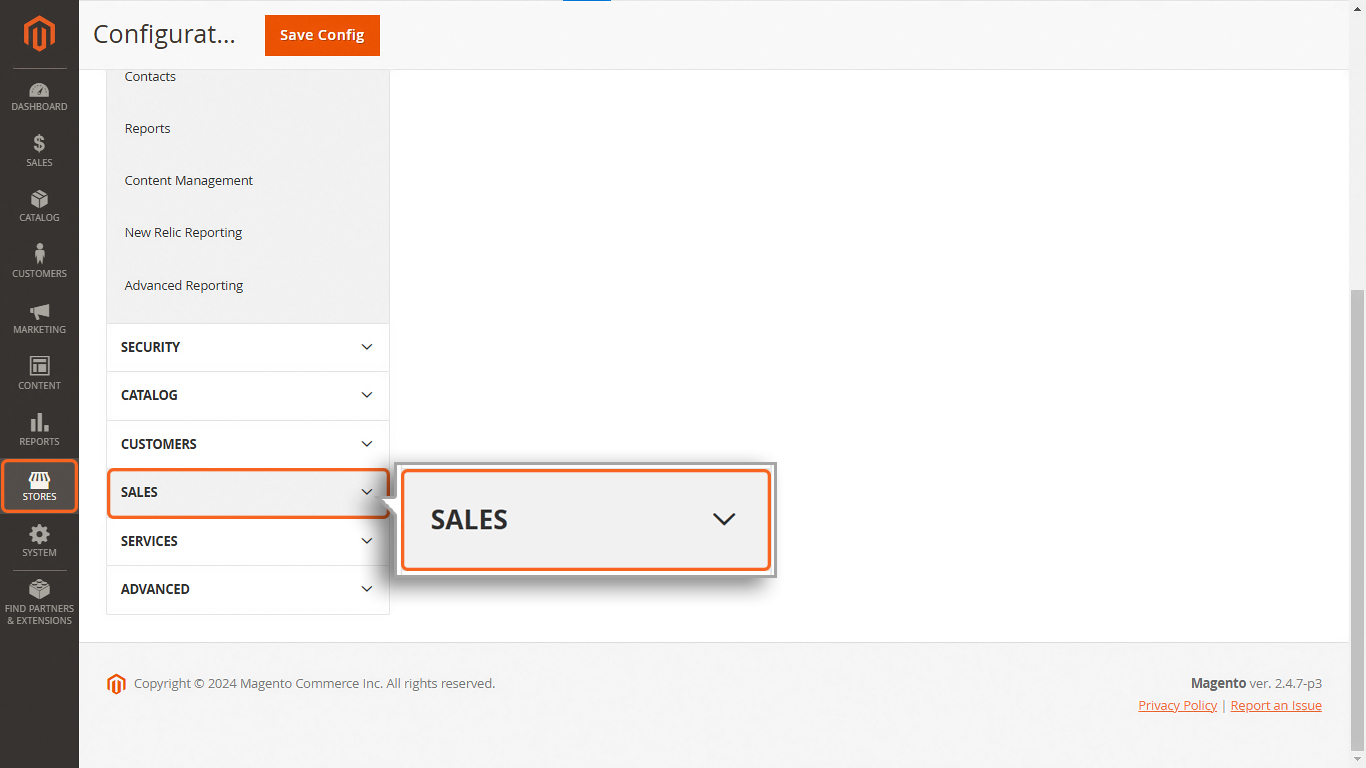
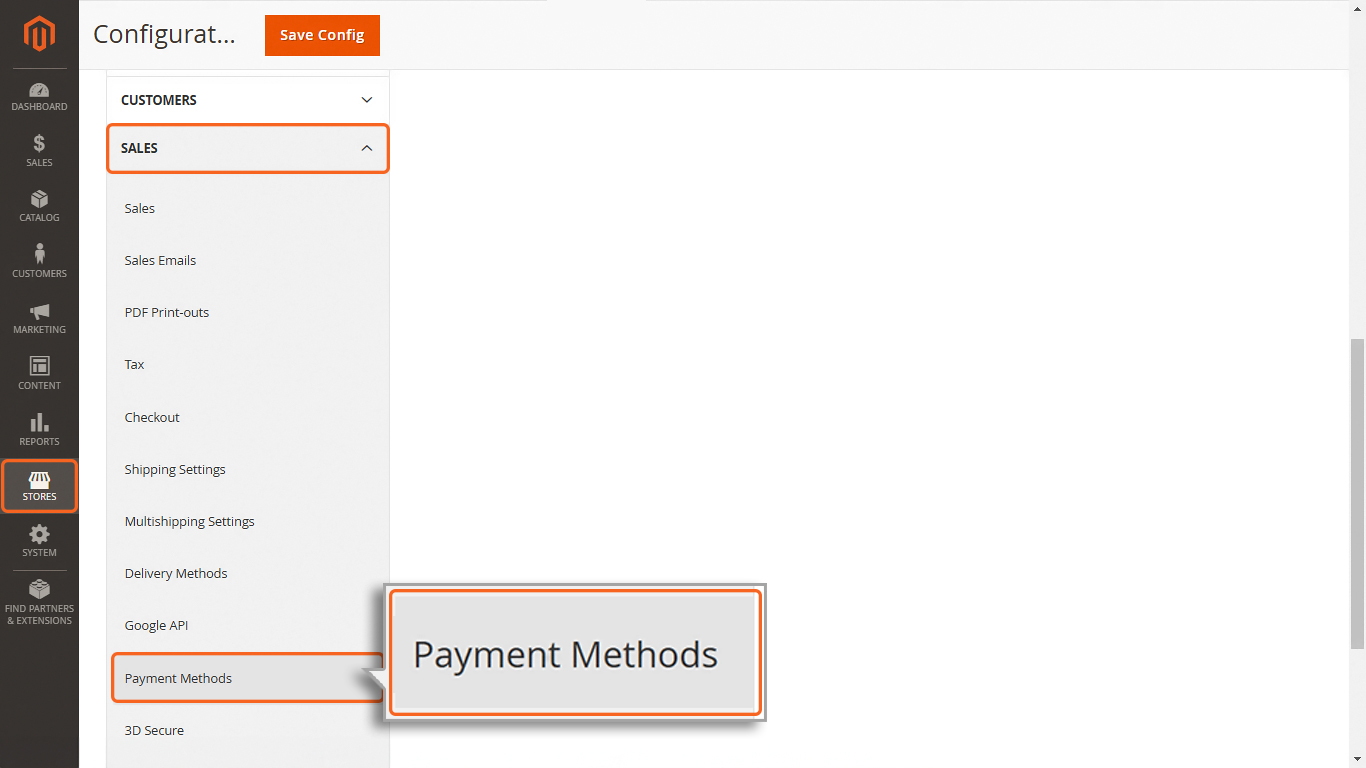
STORES → Configuration
→ SALES
→ Payment Methods
From the dashboard, navigate to the menu on the left side and follow this path: STORES → Configuration → SALES → Payment Methods. This is where you can set up and manage the payment methods for your store.
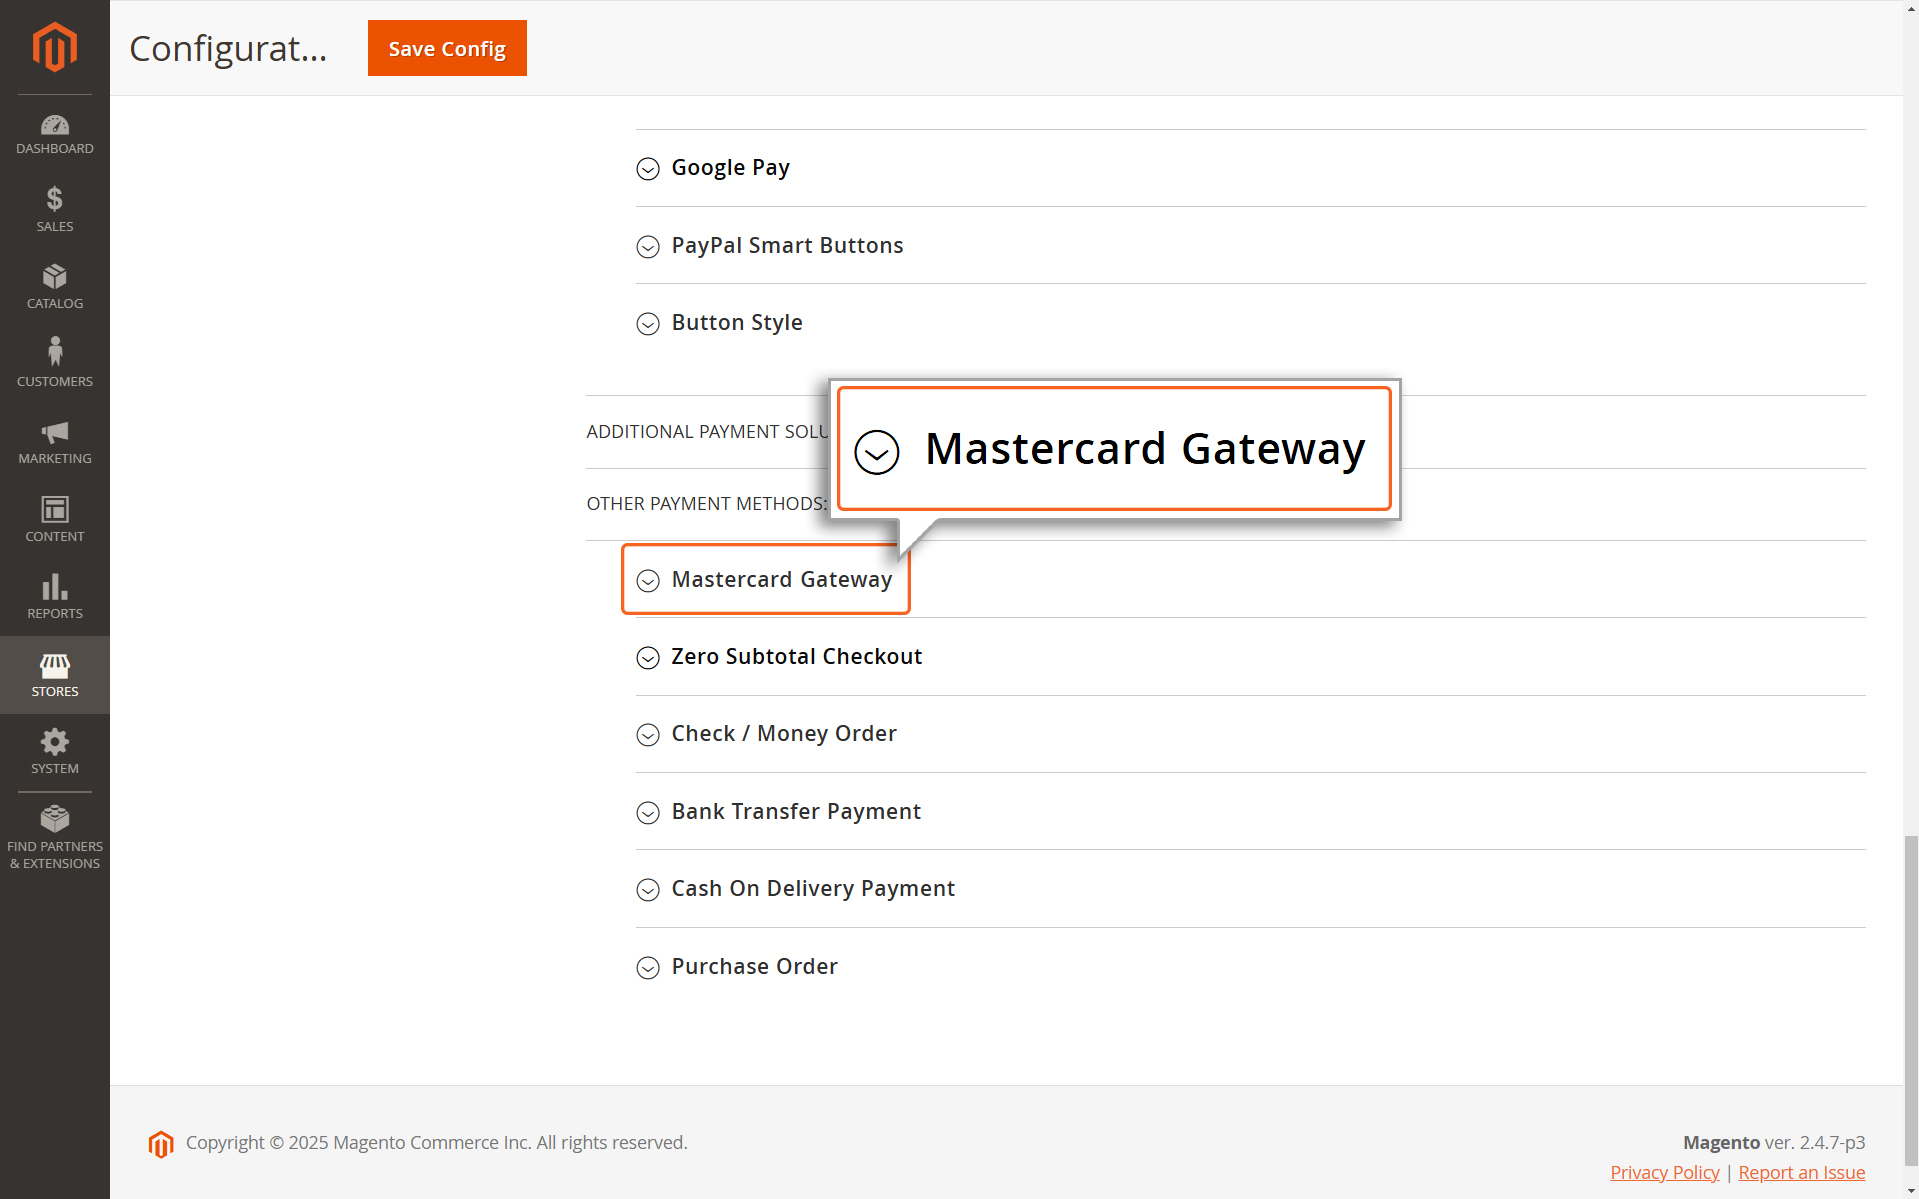
Mastercard Gateway
2. Locate the Mastercard Module
Scroll down the page until you find the module labeled Mastercard Gateway.
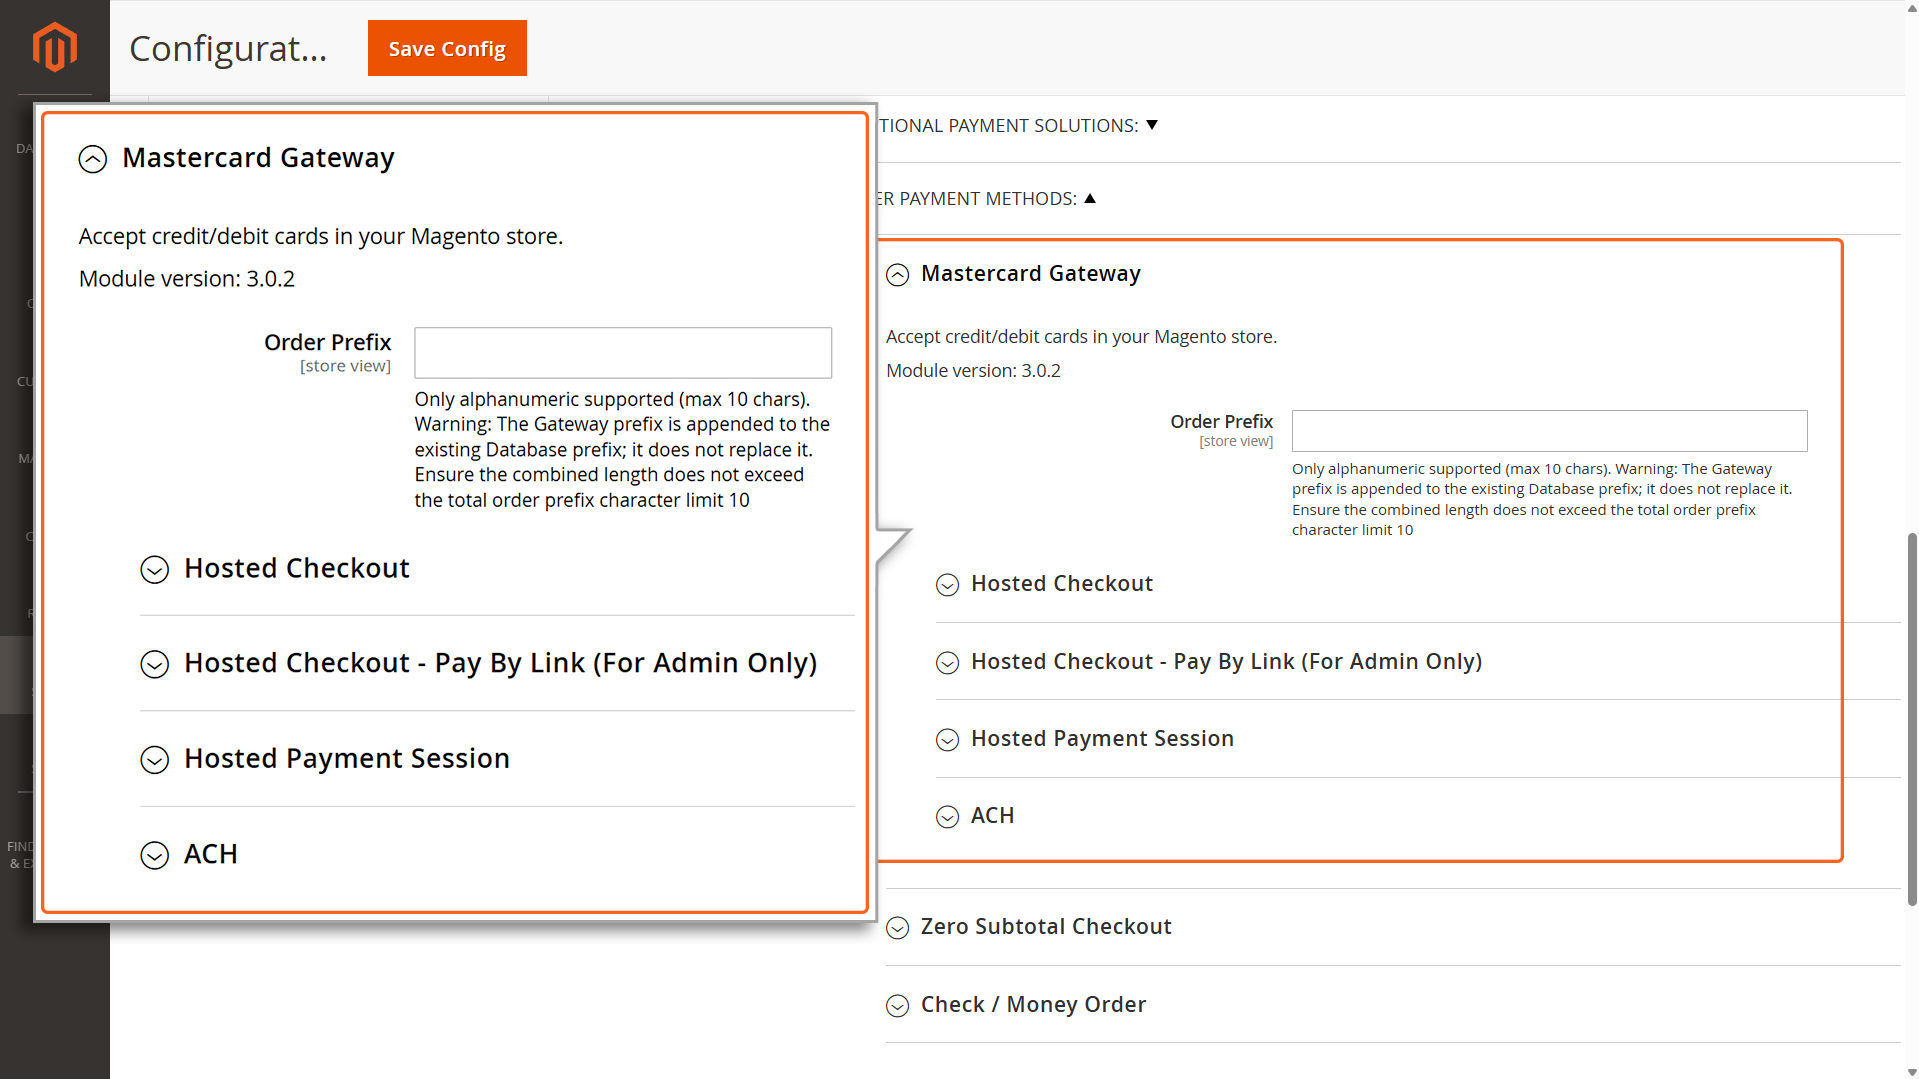
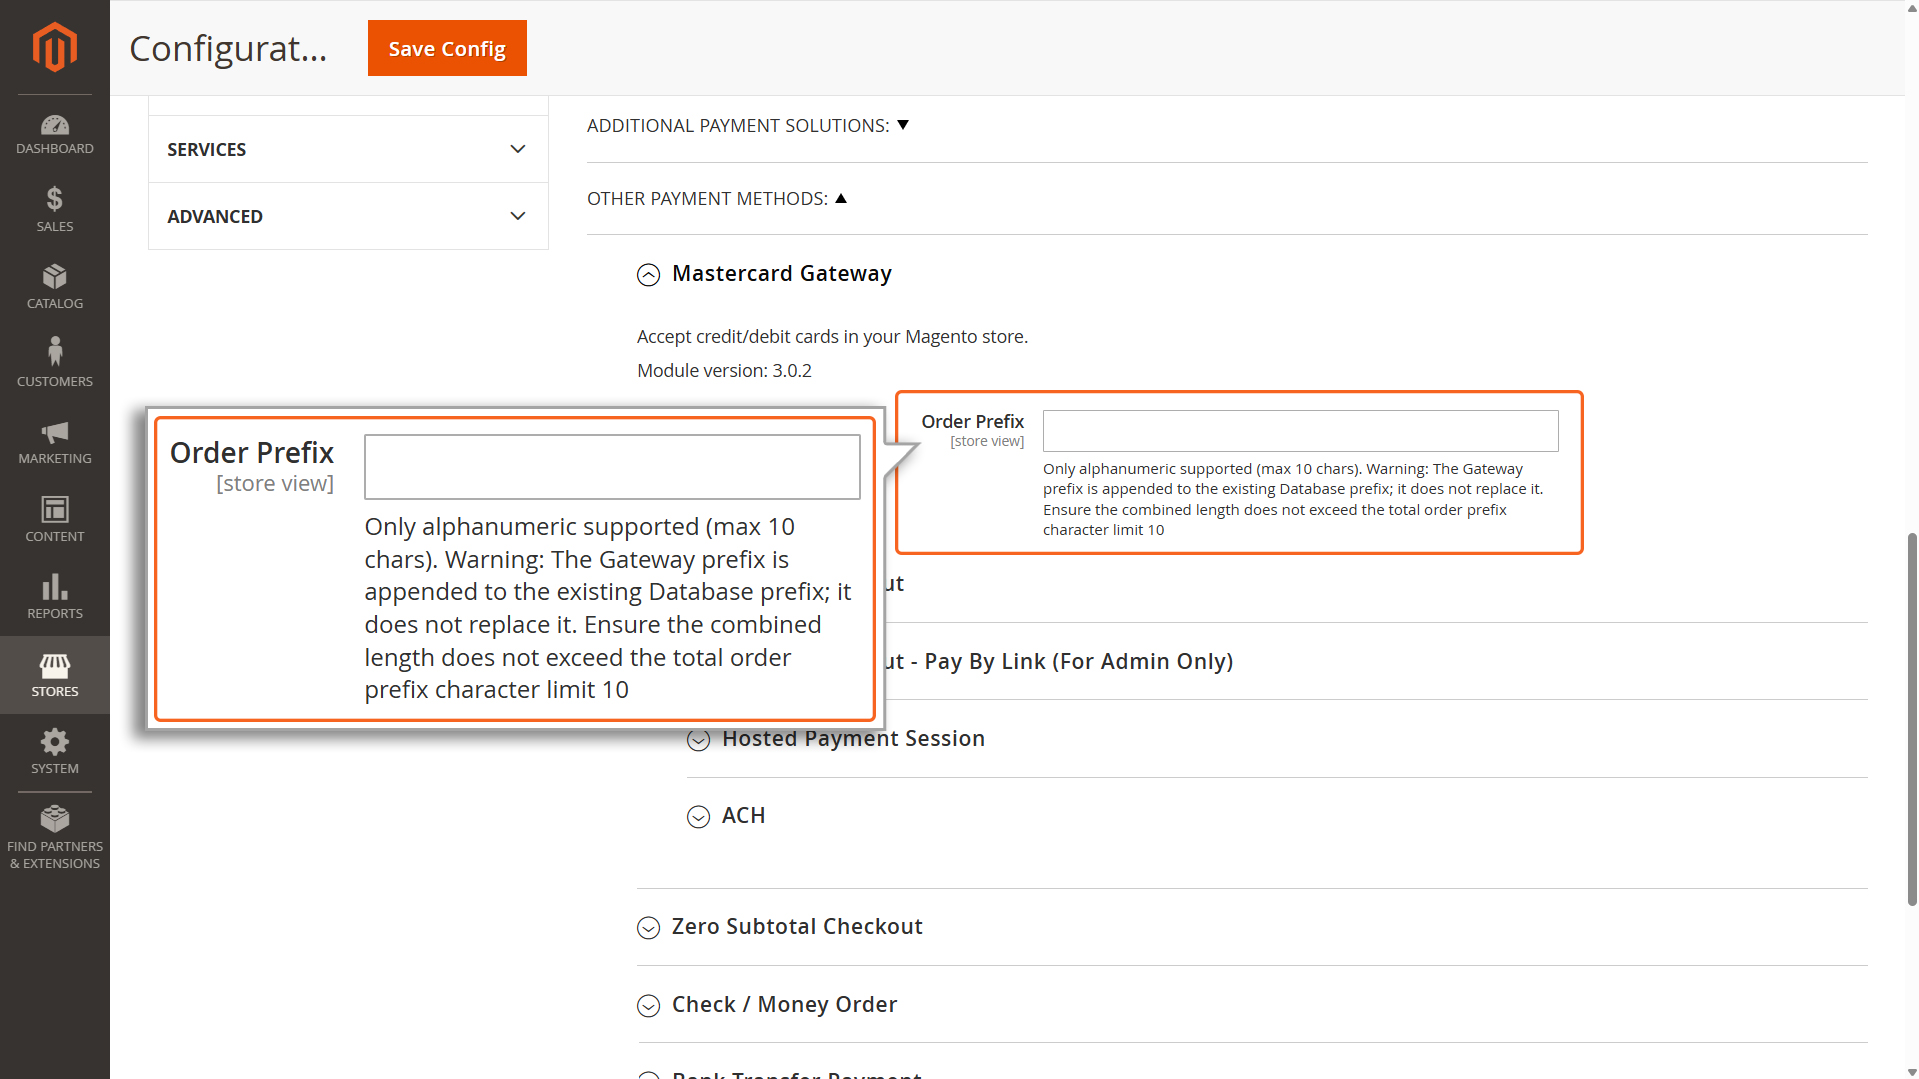
MG Options
Warning: The Gateway prefix is appended to the existing Database prefix; it does not replace it. Ensure the combined length does not exceed the total character limit 10.
Order prefix
3. Configure the Extension
Order ID prefix: Specify the Order ID prefix. This is necessary if multiple integrations share the same Merchant ID to prevent potential duplicates in Order IDs, which could result in payment issues.
In the Mastercard module, you’ll see options to choose how you want to integrate payments. There are three methods to pick from:
Hosted Checkout: A ready-to-use payment page hosted by the payment provider.
Hosted Checkout – Pay By Link: A ready-to-use payment page hosted by the payment provider, accessible via a unique shareable link sent directly to customers.
Hosted Payment Session: A solution that lets you manage the payment experience within your website.
ACH: Ideal for processing bank transfers directly.
Select the method that fits your business needs. If you’re unsure which one is right for you, consider factors like ease of setup, user experience, and your specific payment requirements.