Home > PrestaShop – Mastercard Gateway > Configuration


PrestaShop – Mastercard Gateway
Created date: 06-04-23 |
Updated date: 12-11-25 |
Plugin version: 1.4.5 |
API version: 100


Mastercard Gateway for
Magento, OpenCart, PrestaShop and WooCommerce
Magento, OpenCart, PrestaShop and WooCommerce
Configuration
After installing the Mastercard Gateway extension, you need to access it. Follow these steps to configure it properly:
1. Access the Configuration Menu
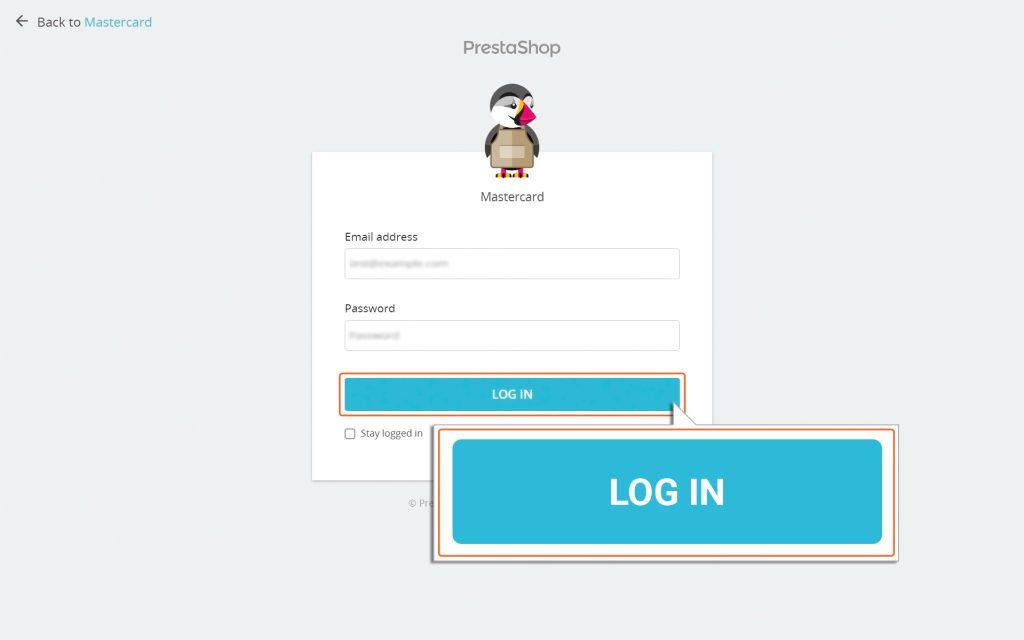
- First, log in to your PrestaShop Admin Panel.
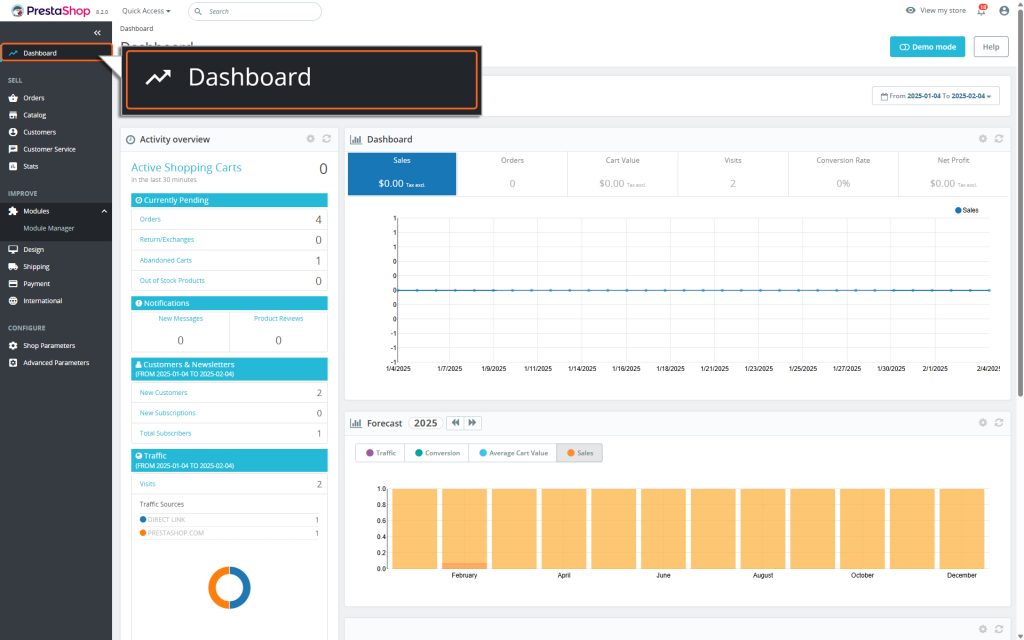
- After logging in, you will be redirected to the Admin dashboard.
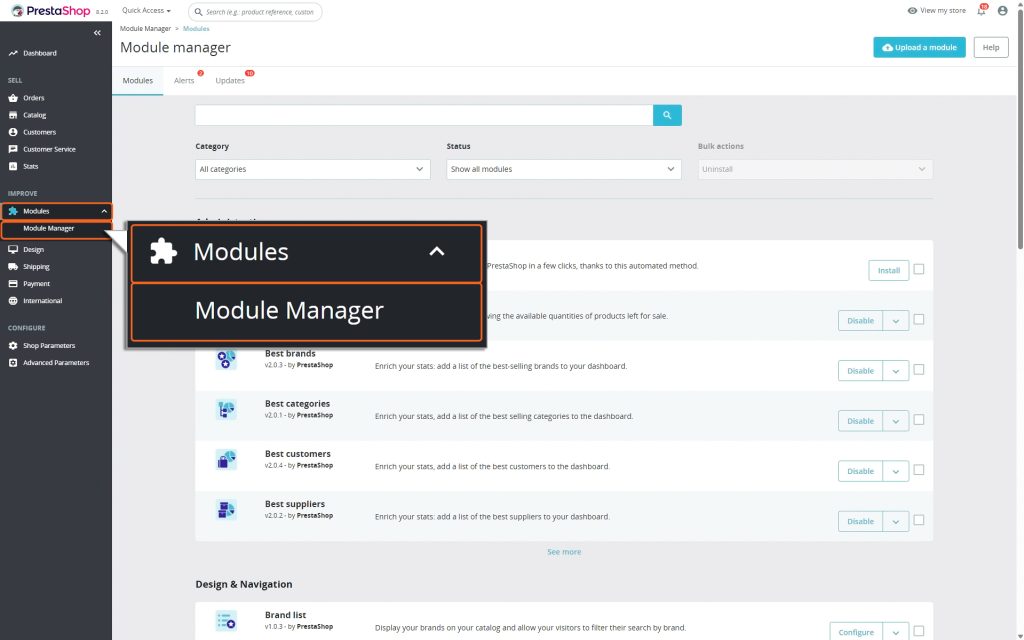
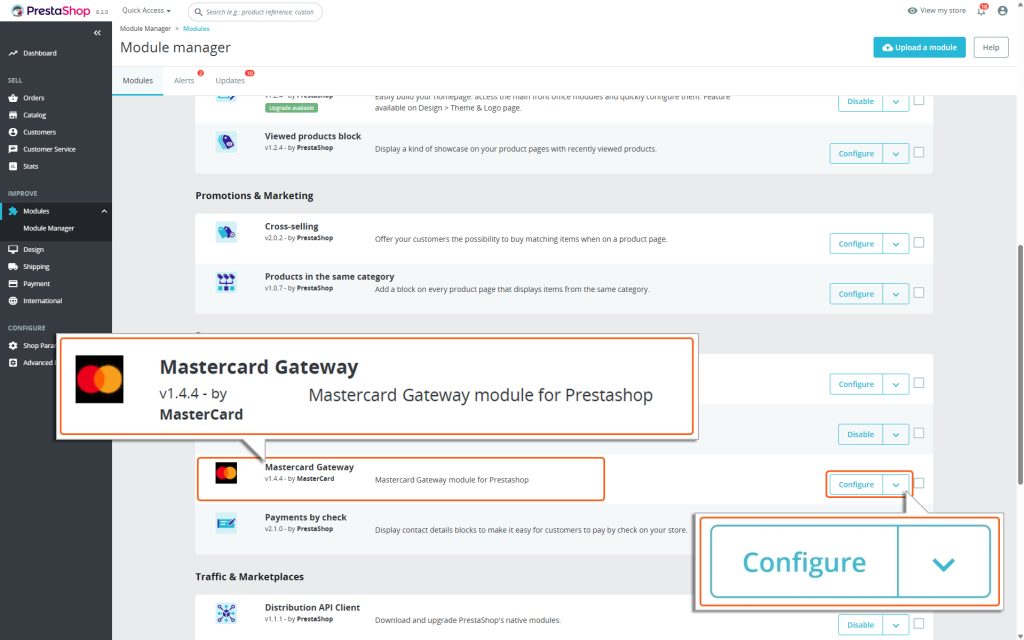
- Navigate to the menu on the left side and follow this path Modules → Module Manager
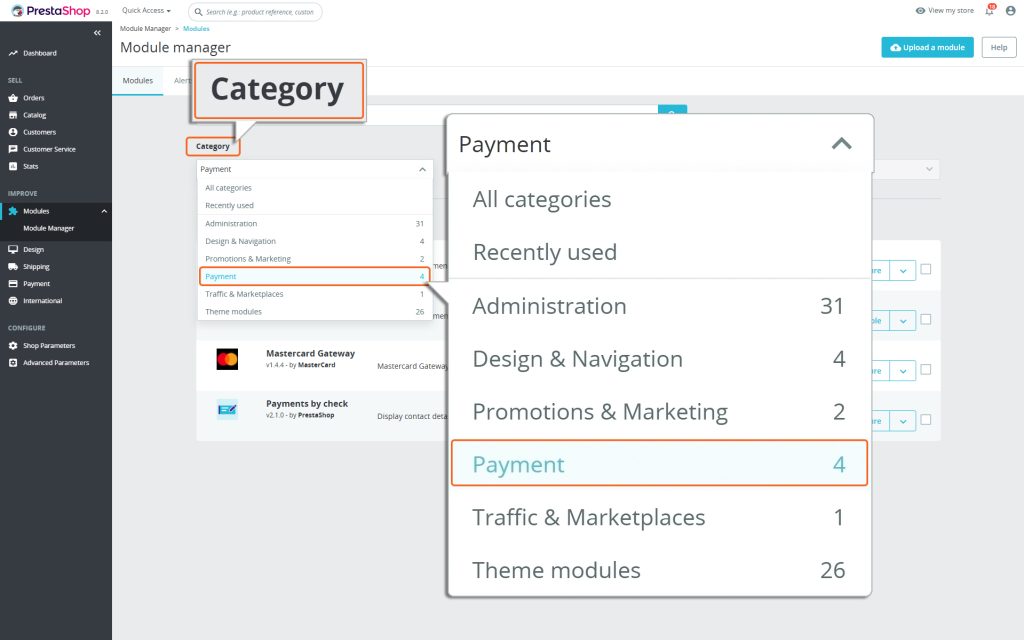
- Under the Modules Tab, choose the Category dropdown → Payment.
2. Locate the Mastercard Module
- Scroll down the page until you find the module labeled Mastercard Gateway and click on the Configure button option next to it.
3. Configure the Extension
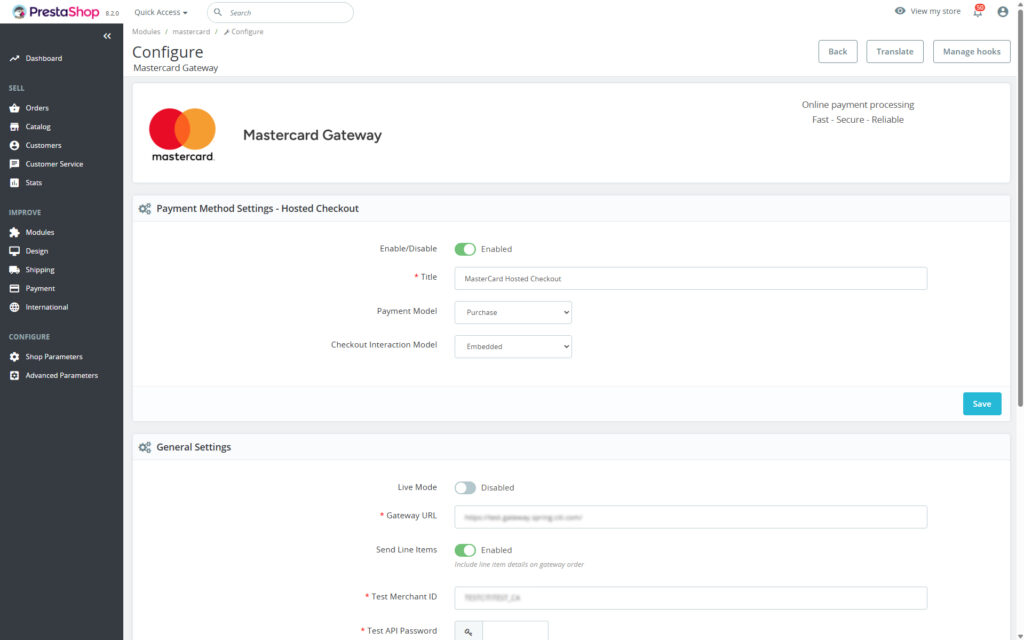
- In the Mastercard Gateway module, you’ll see options to how you want to configure the payments. There are three sections to configure fields:
- Payment Method Settings – Hosted Checkout: In this section, you can specify Payment Model options, Checkout Interaction Model, and more.
- General Settings: In the ‘General Settings’ section, you can select the Mode, Merchant ID, API Password, API Endpoint, etc., for your payment gateway.
- Advanced Parameters: In the ‘Additional Parameters’ section, you can select the Logging Verbosity, Gateway Order ID Prefix, and Custom Webhook Endpoint.


